1.25.16
The Brownie Lesson: Triple-Chocolate Nut Brownies
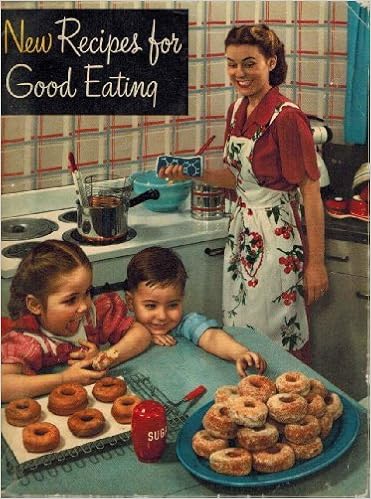
When I was a little girl, I learned how to make brownies from my mother, who had a well-worn paperback cookbook called New Recipes for Good Eating (1949), published by the Proctor & Gamble Company, and featuring their vegetable shortening: Crisco. Mother loved that little cookbook and she always used Crisco. On the cover is a very stereotypical 1950’s housewife wearing a white bib apron with a red cherry print. She is frying donuts while two little children are focused on the platter of finished donuts on the table.
It was from this cookbook, and in a 1950’s scene much like the one on the cover, that I learned how to make brownies. We always doubled the recipe (I still have Mother’s cookbook with the doubled quantities penciled in) so that we could bake them in a big roasting pan, part of a set of Wearever aluminum pans that mother had purchased from a traveling salesman. I felt so proud when I learned to make brownies and made them for every family gathering; everyone loved them and my Uncle Arnold, especially, always bragged about my brownies. Through all the years between then and now, I continued to make brownies for family gatherings; they’re a hit in any year.
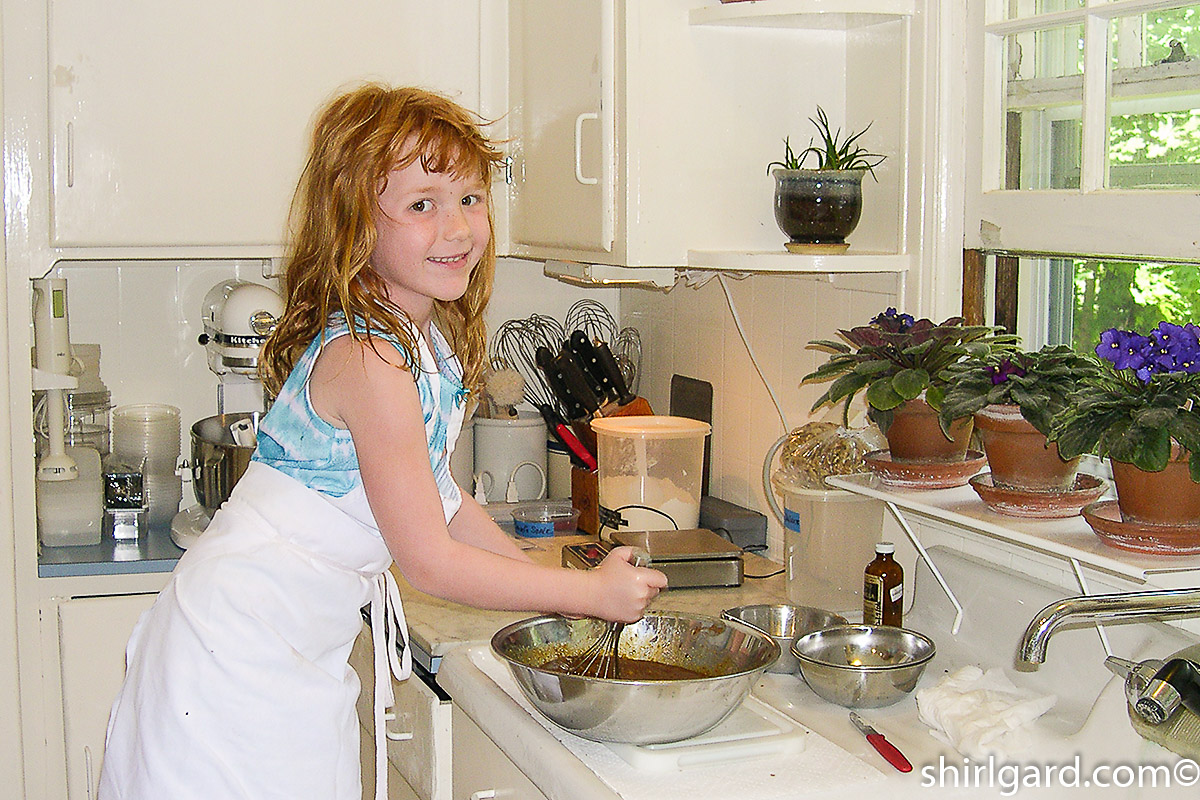
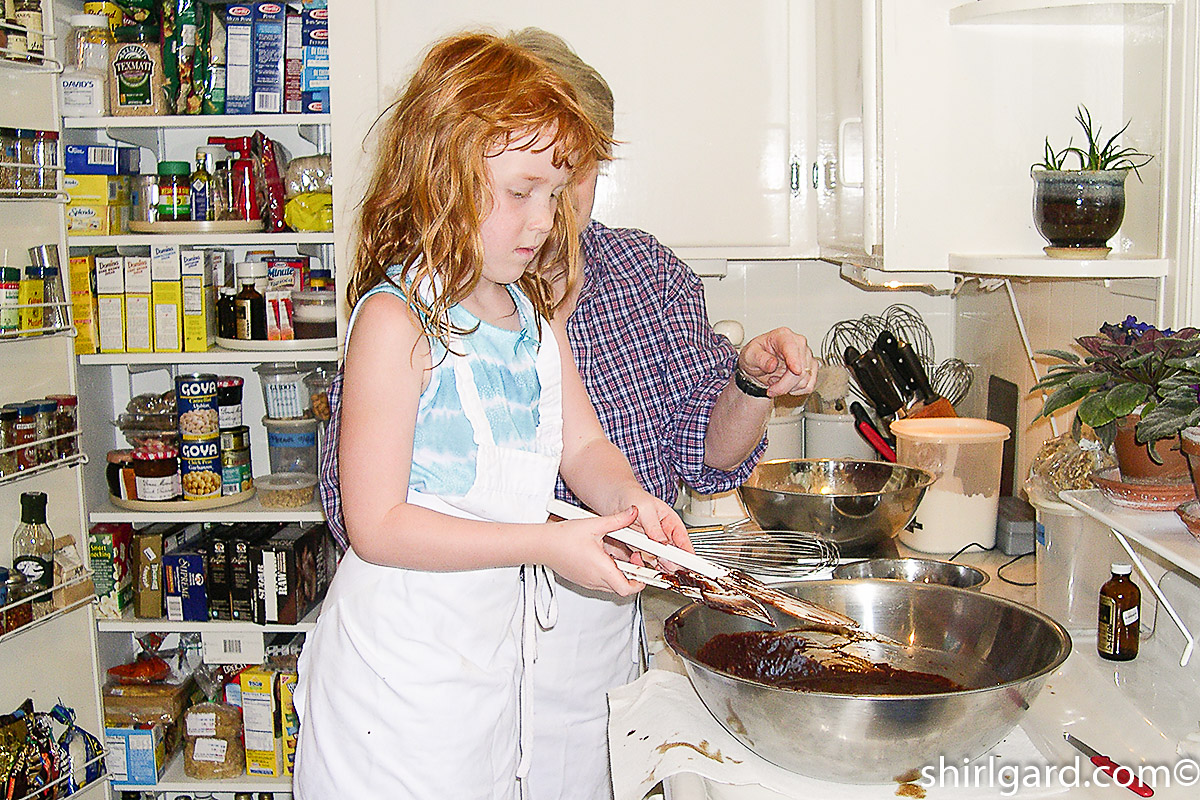
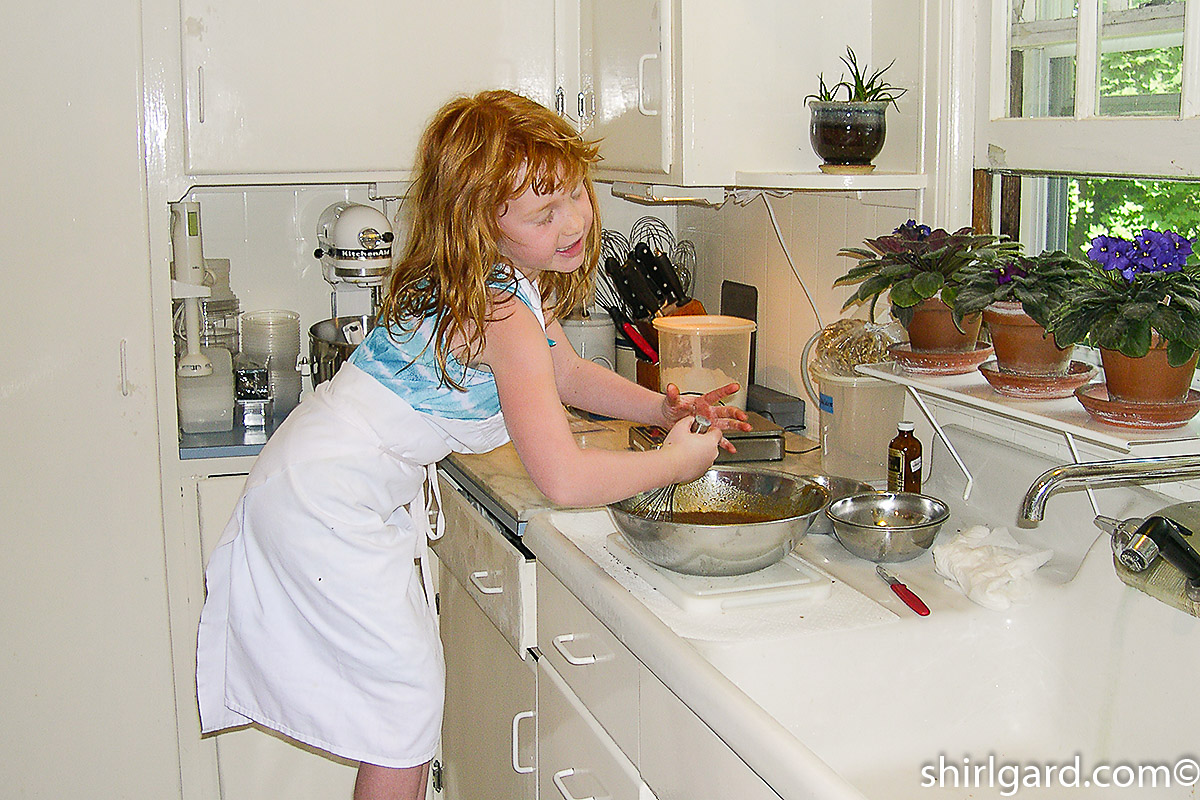
A few years ago, I had the chance to teach another little girl how to make brownies: Skye, my little granddaughter. I am hoping, that years from now, Skye will remember the time that she made brownies with Grandma Shirl. I am sure that a 2000’s kitchen will seem just as quaint to her then as a 1950’s kitchen does to us now. Kitchens may change but brownies are timeless. The Shirl and Skye brownie lesson was well documented by Grandpa Bob. I will let the photos tell the story of “The Brownie Lesson”.
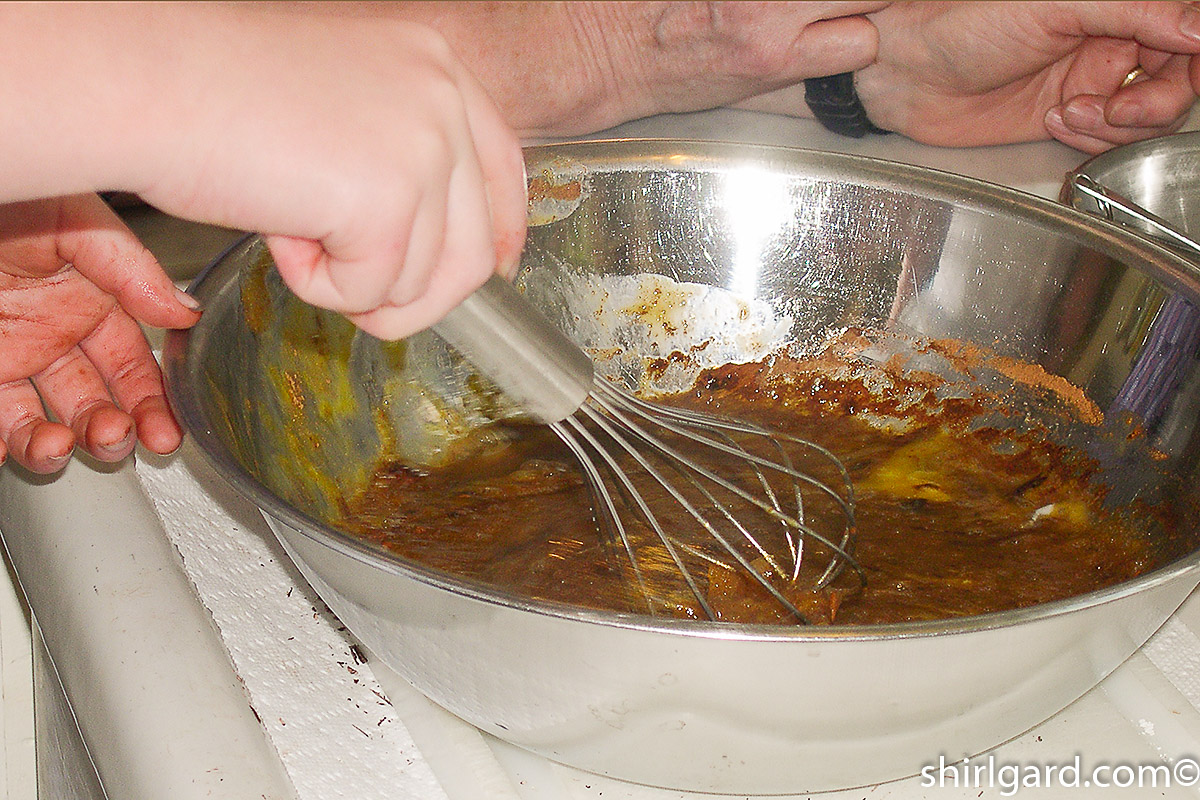
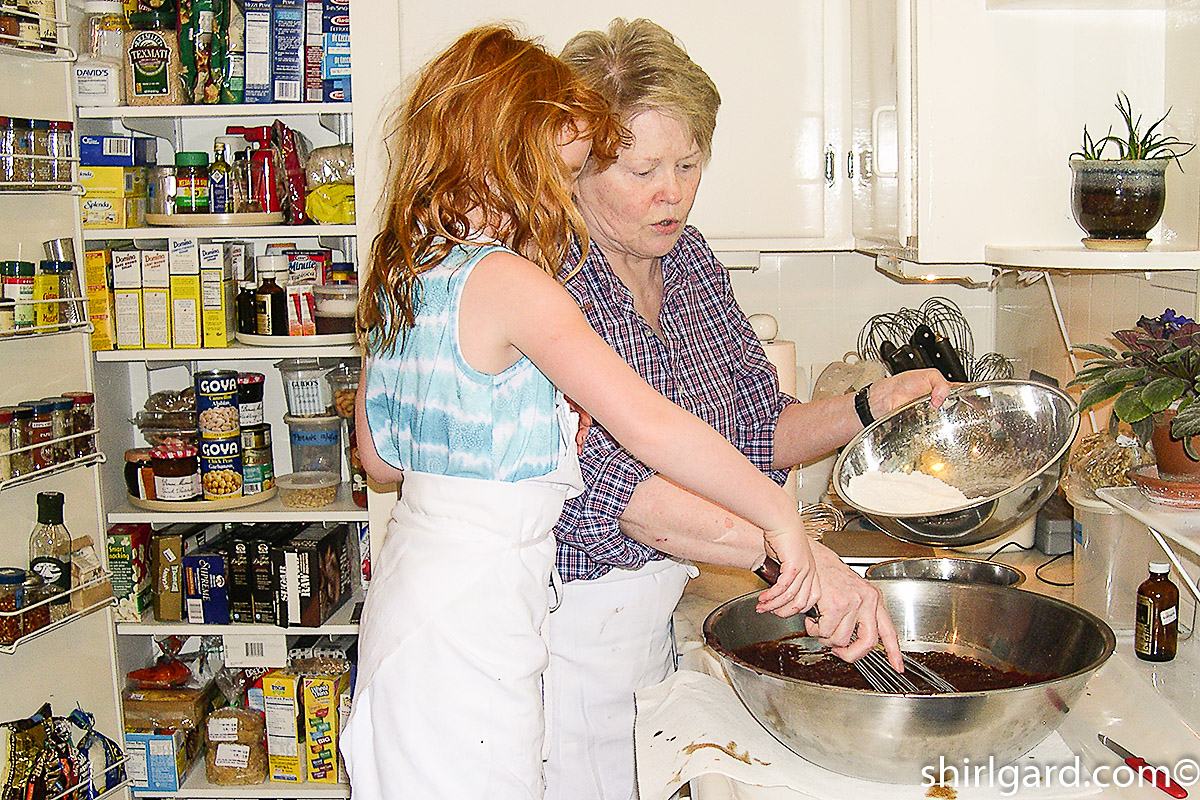
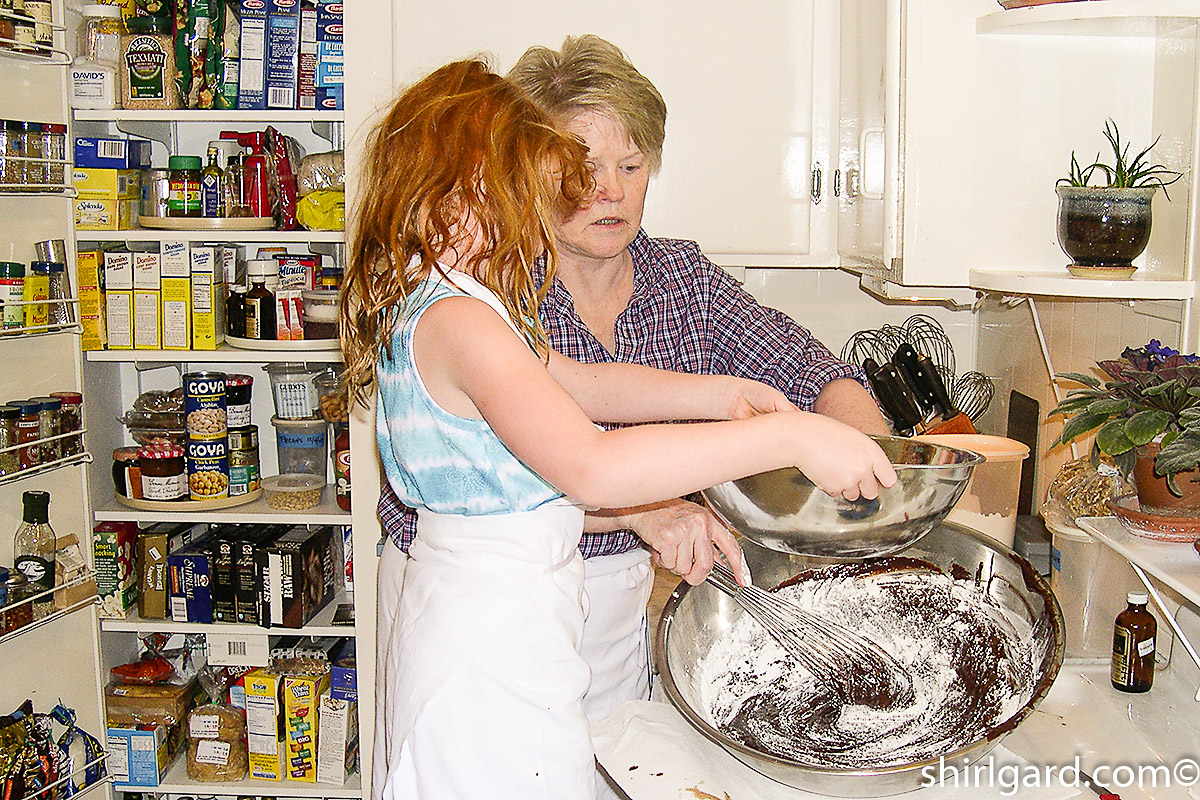
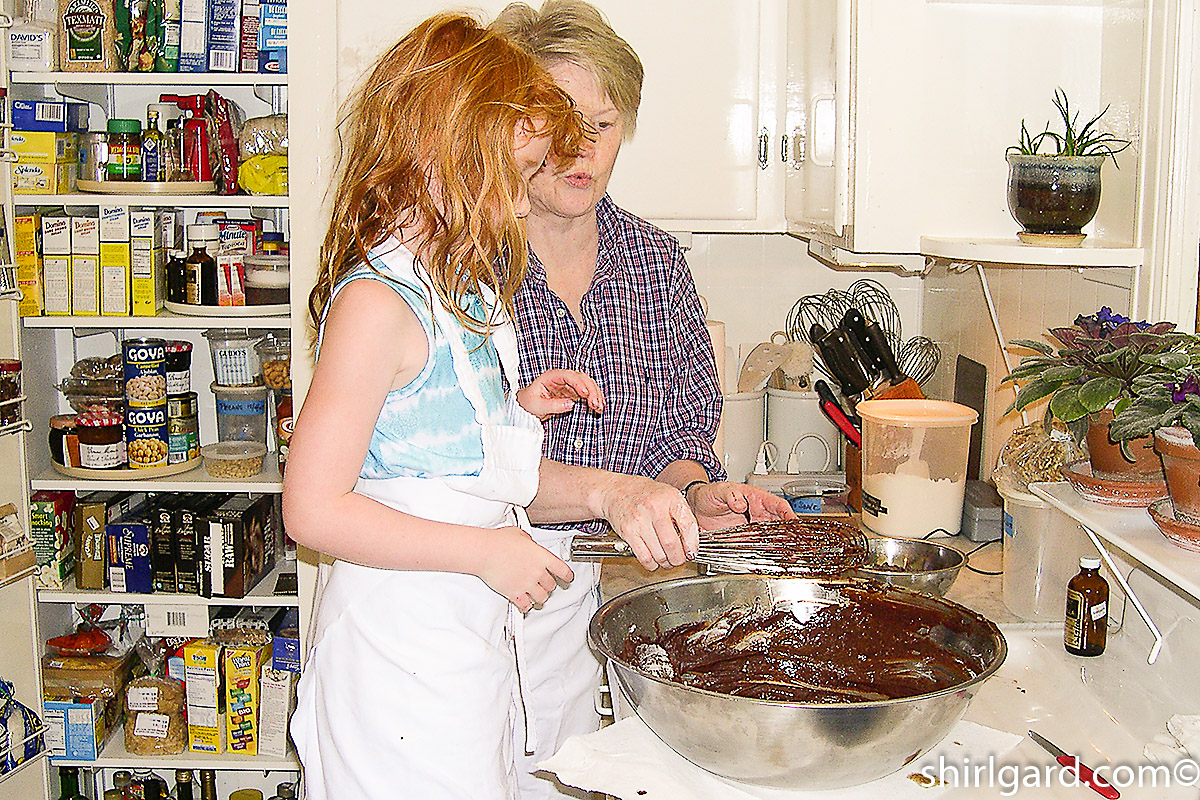
Shirl & Skye: The teacher & the student

Here we go: “The Brownie Lesson”


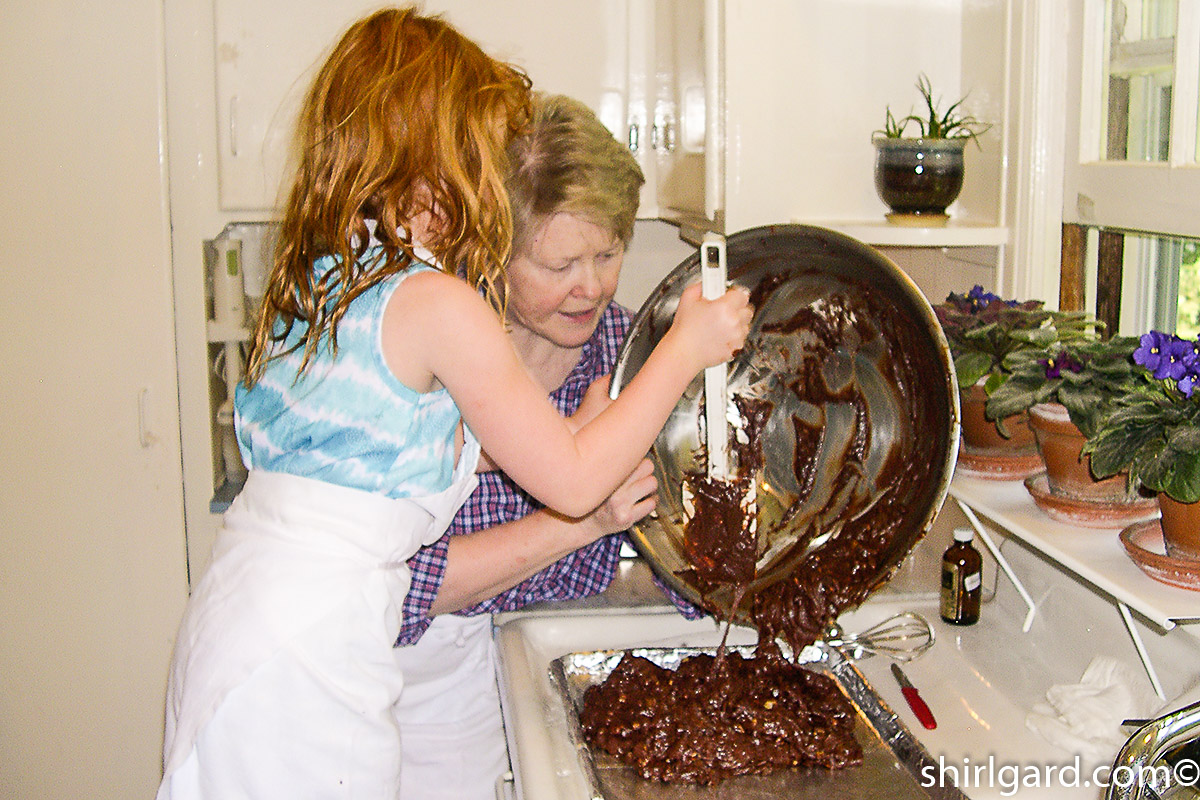
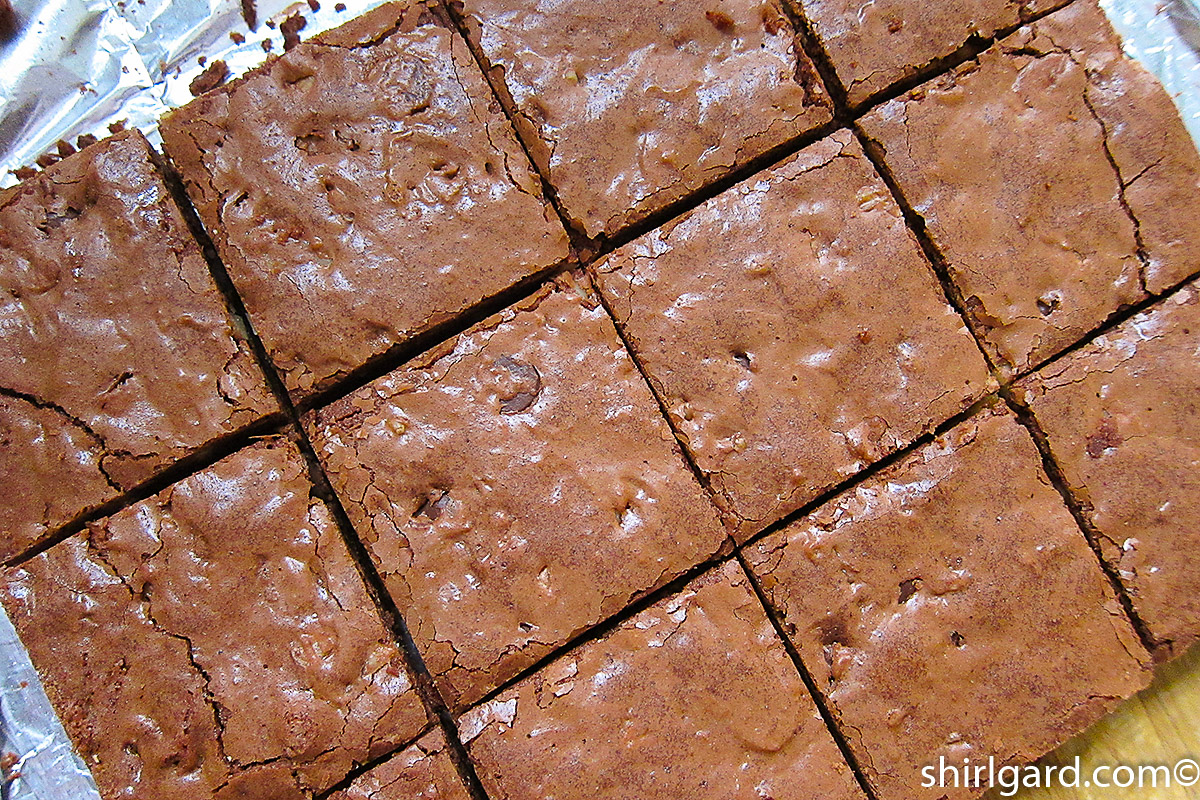
Finishing the Brownies: Spreading, Baking & Cutting
-
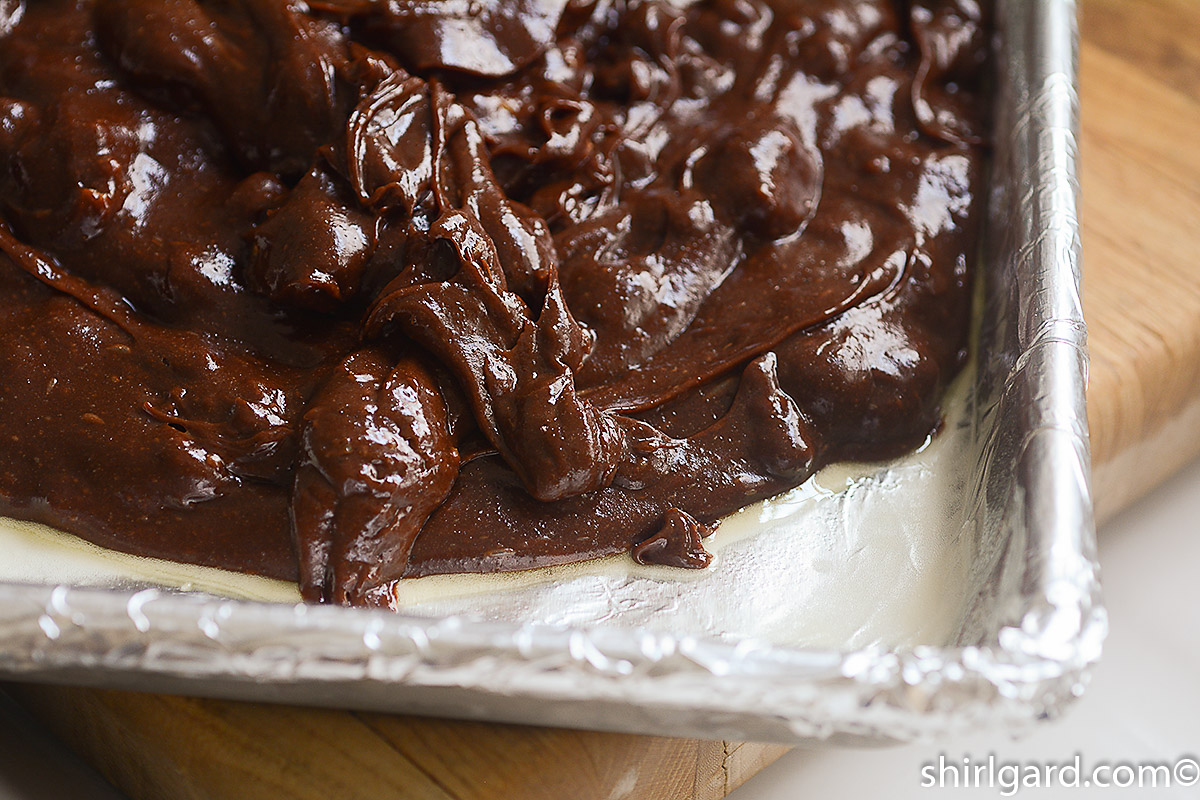
- Spreading Brownie Batter in pan.
-

- Ready to bake.
-
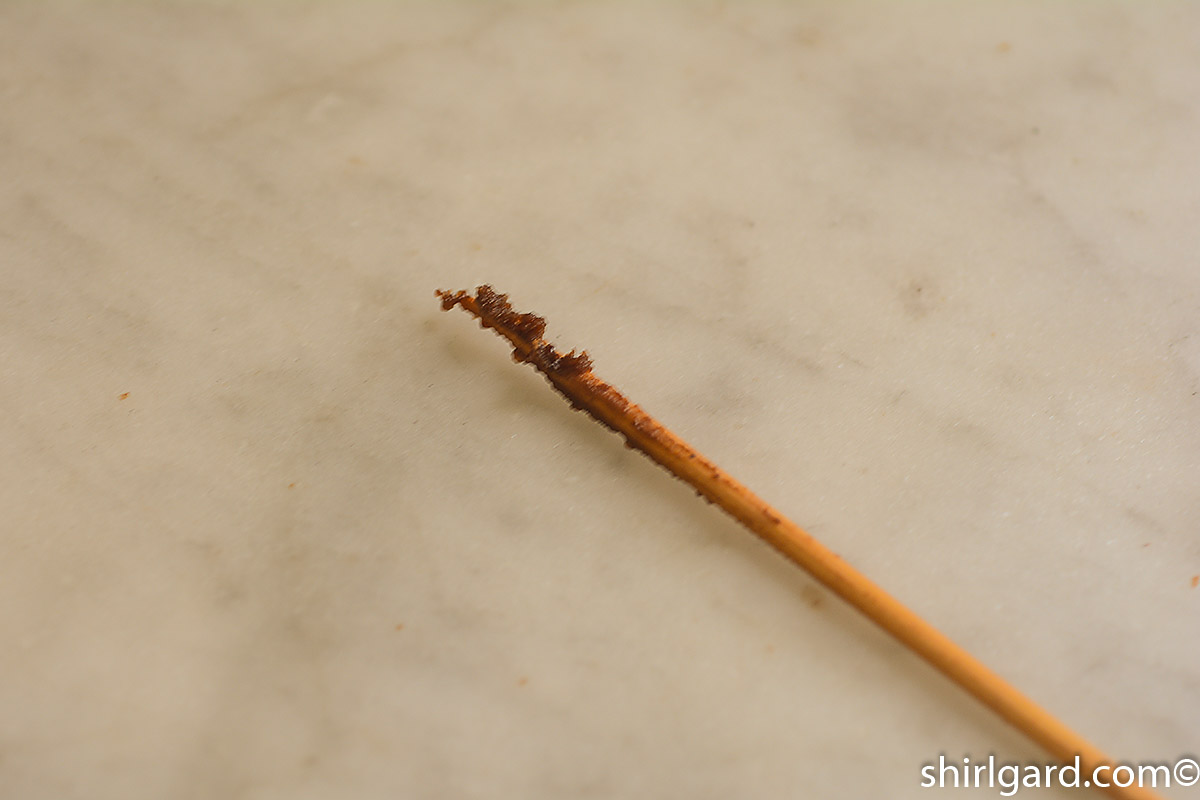
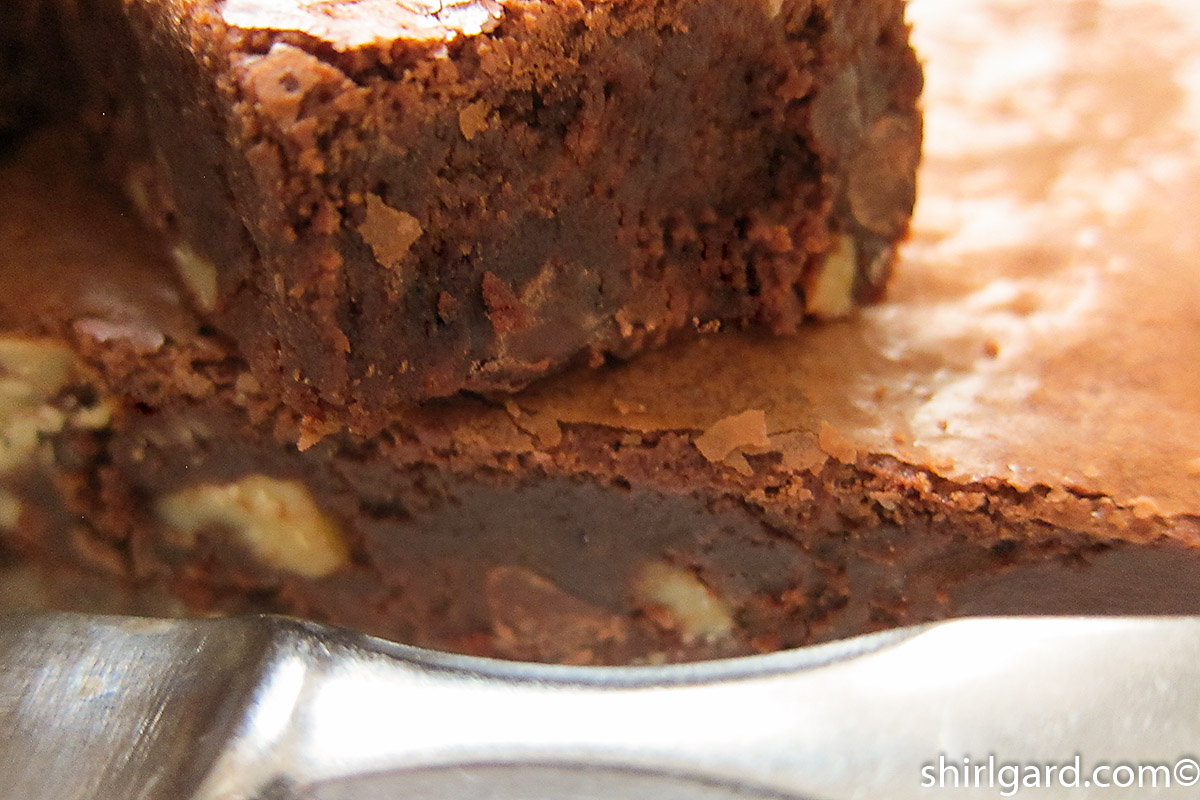
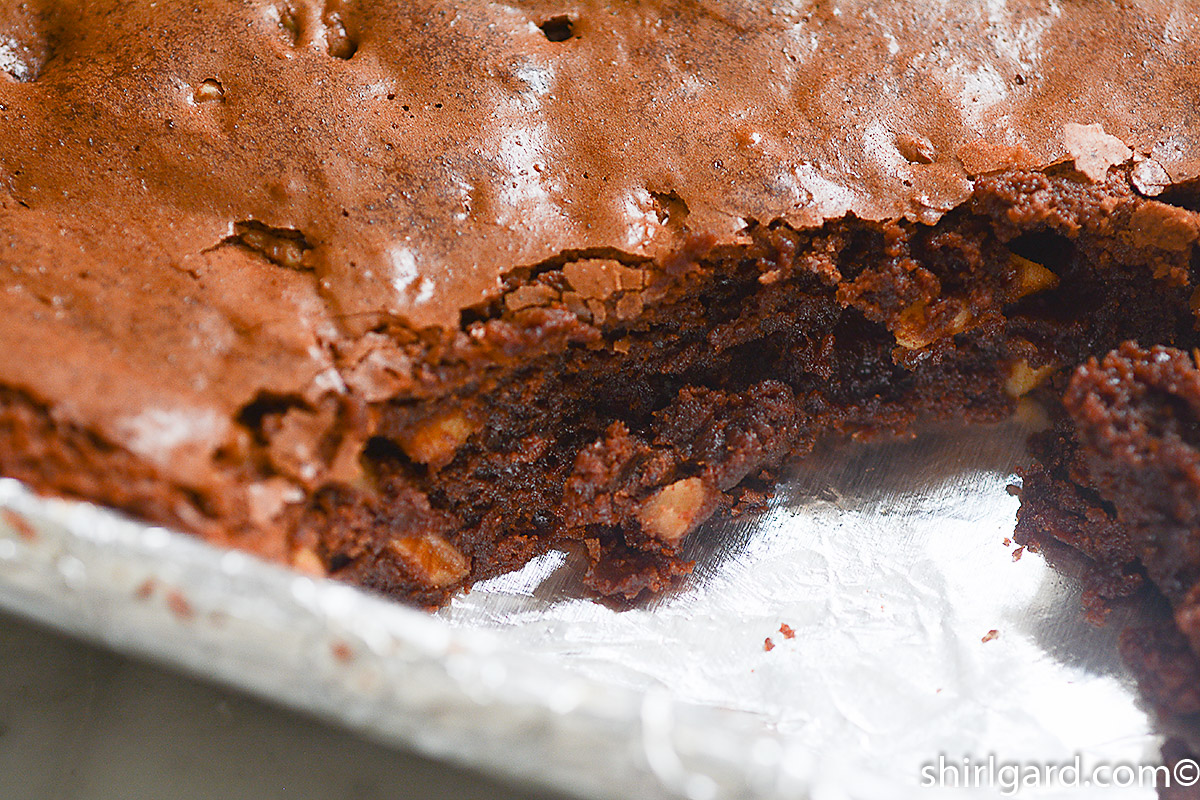
- Doneness test: A few moist crumbs.
-
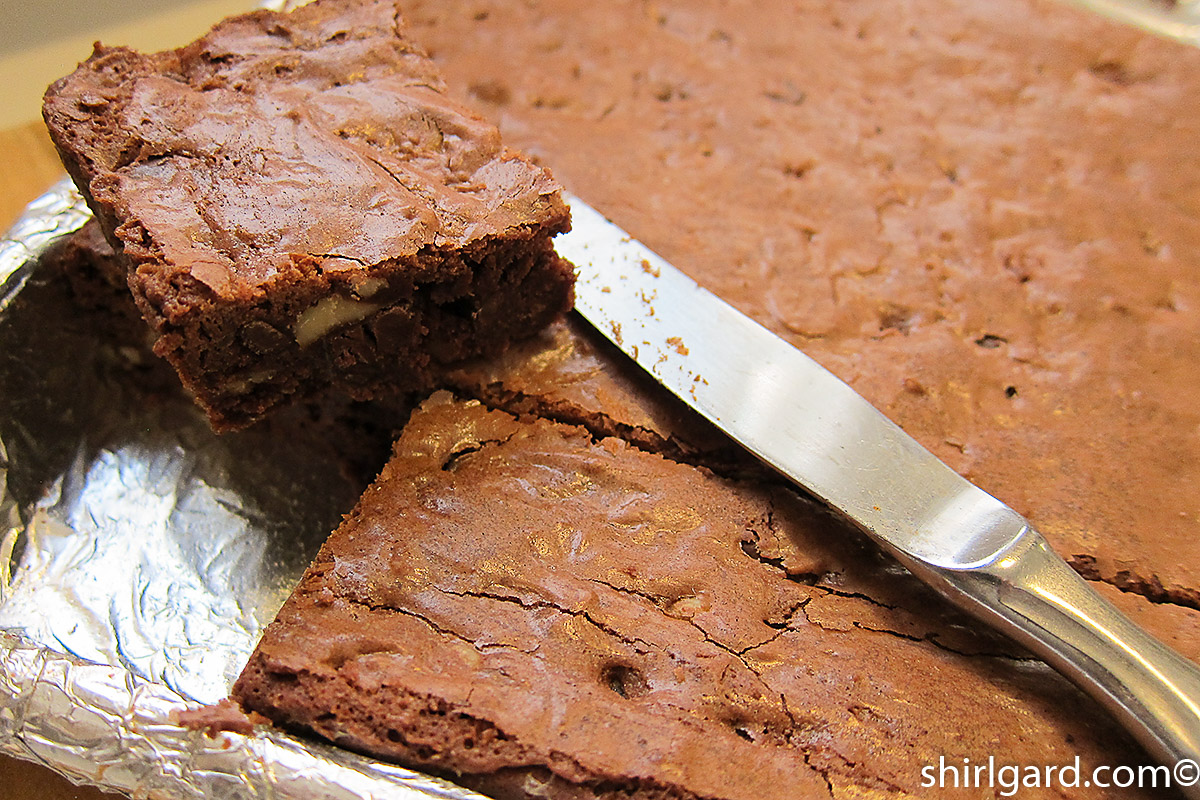
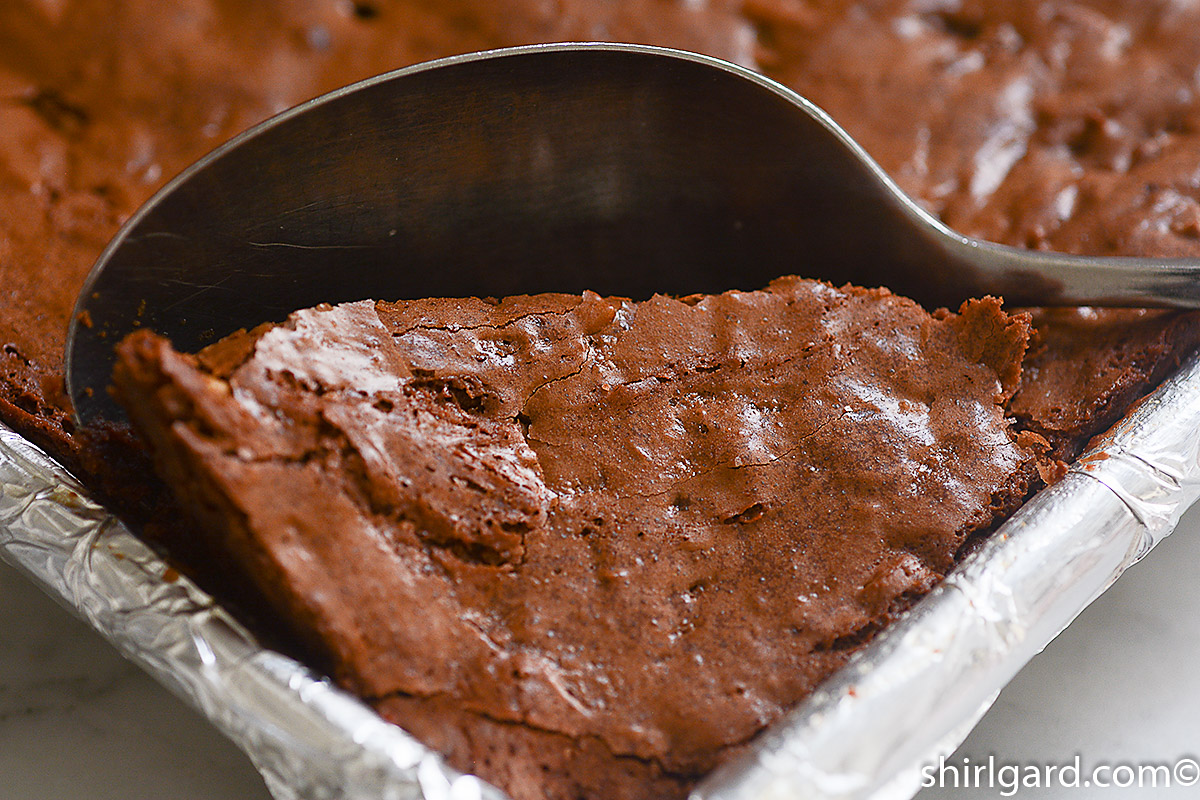
- Casual cutting in the pan.
-
- Cut brownie.
-
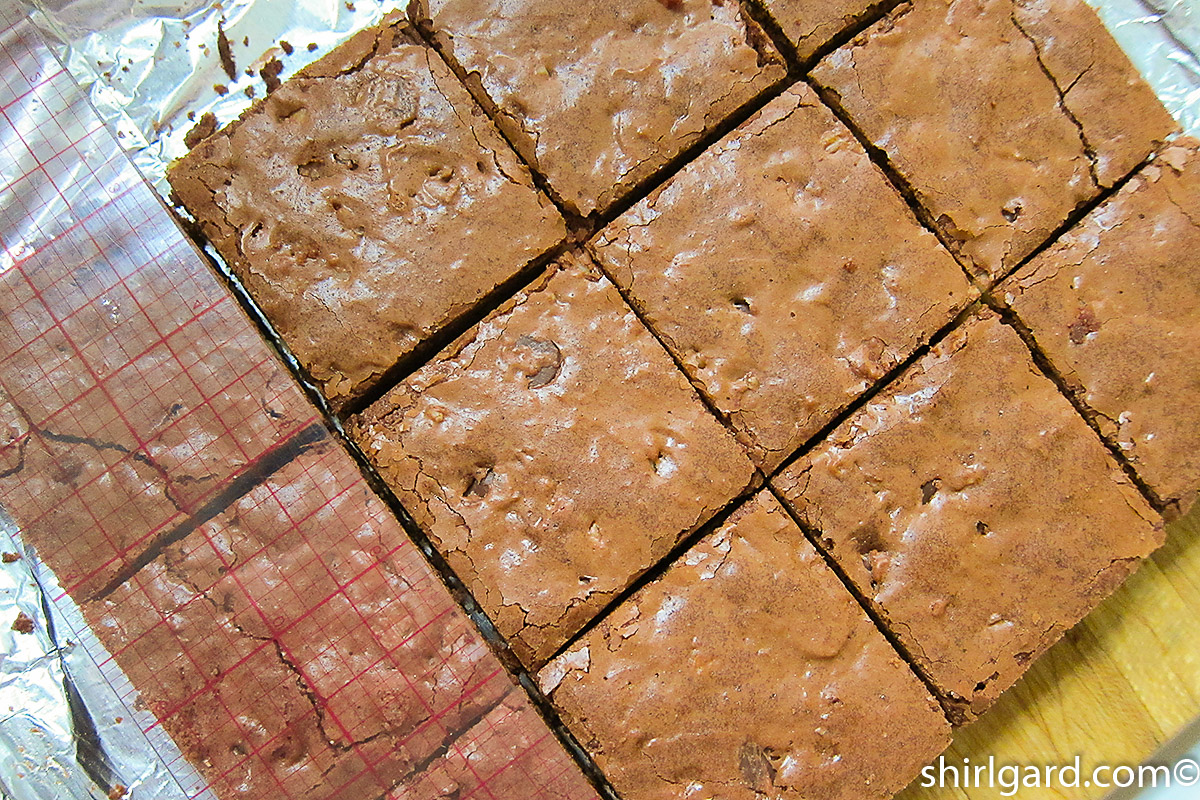
- Cutting frozen brownies with a C-thru ruler.
A note to all the bakers who read this post: find a little girl (or boy) and teach them to make brownies. It will make you feel so good and it will make them feel so proud.
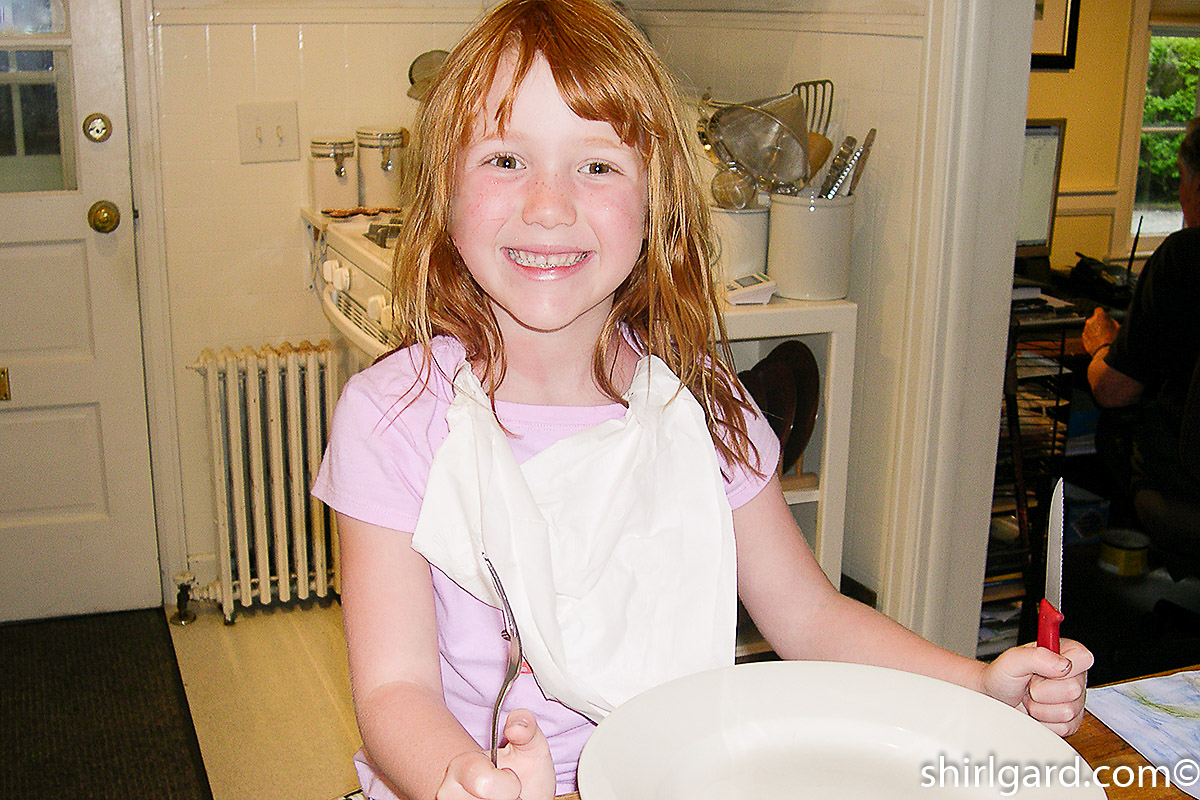
A Proud & Confident Little Brownie Baker: “I can do this”.
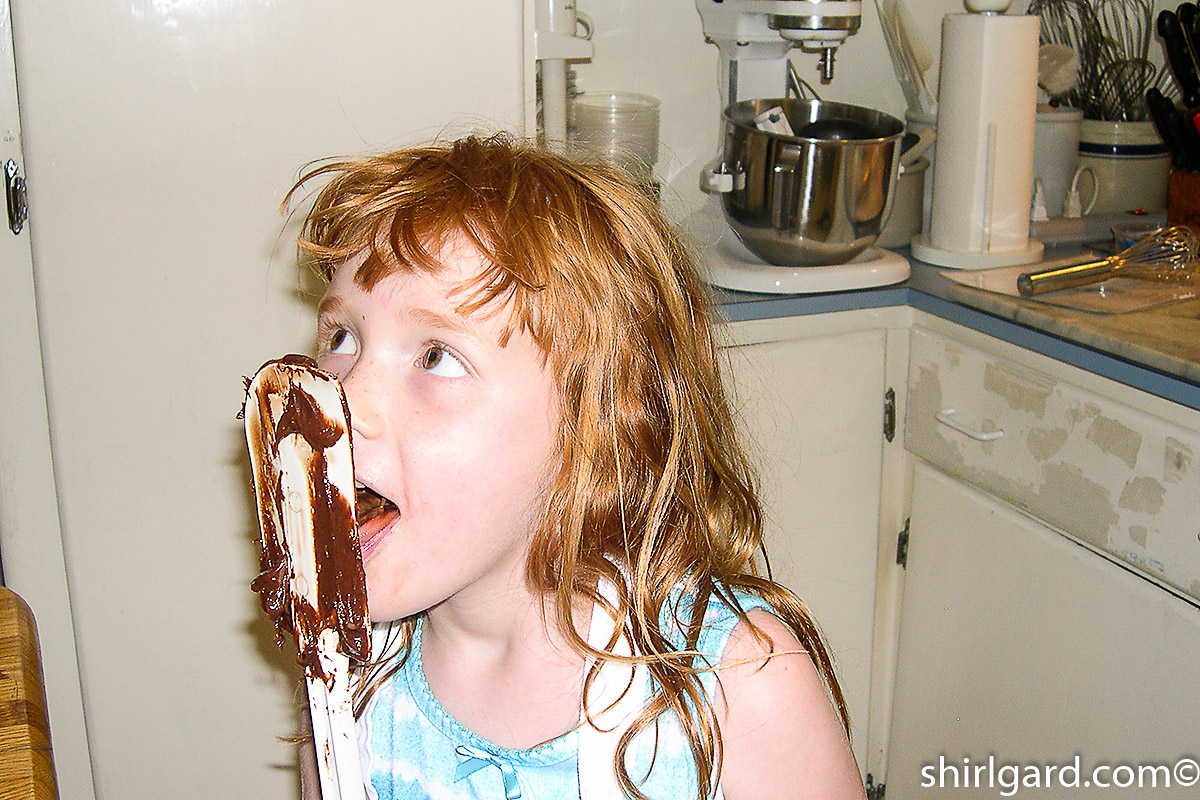
All Done: Licking the Spatula
Waiting is the hardest part: When will they be done?
P.S.
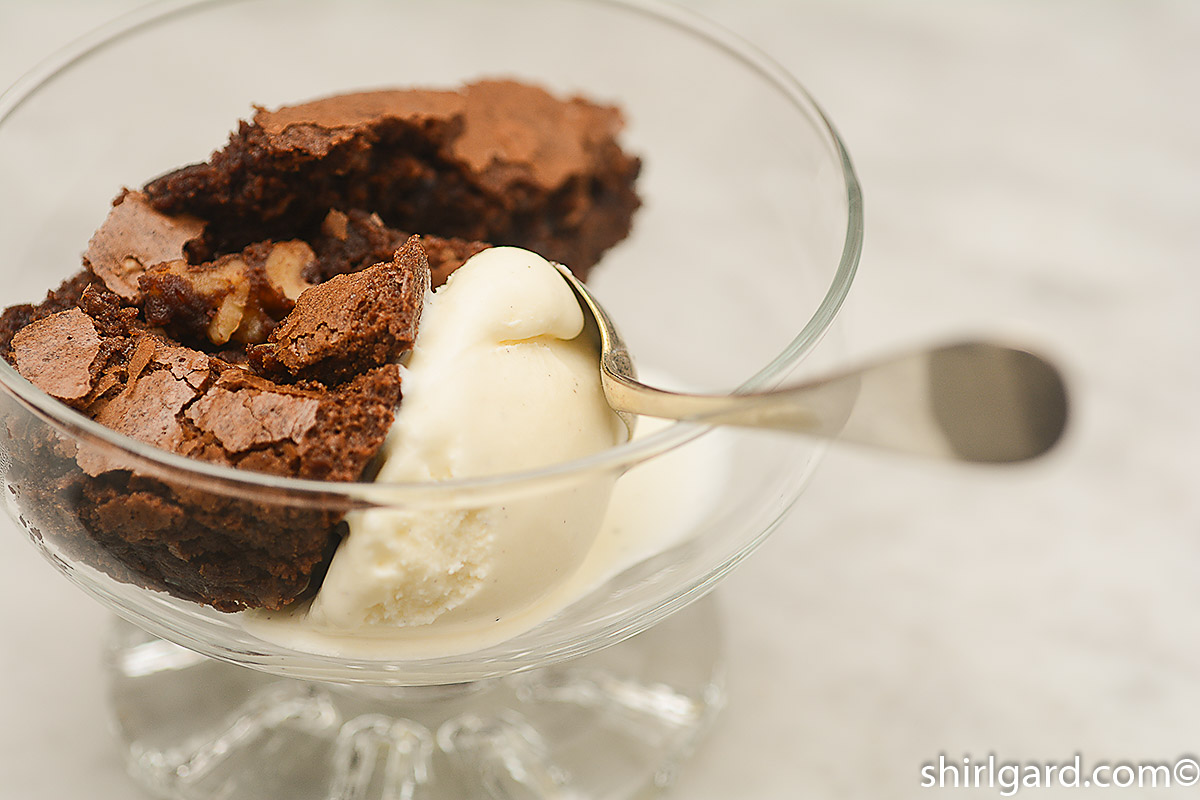
“Spoon” Brownies:
I’ve always had a secret wish, a fantasy really, of what it would be like to dip a big spoon into a pan of hot freshly-baked brownies and dish it up with a scoop of ice cream. I could never really do this because the brownies I was making were usually for a function or special event like an engagement party or wedding dessert buffet, or for the front counter at the Southfield Store.
When we made the plain “kid-friendly”, “home-y” batch for this post, I finally got my wish. Since these brownies had no place to go, no catering event or front counter or family reunion, it seemed like the perfect time to indulge myself. As the spoon slid into the soft gooey chocolate-y mass, I asked myself why I had waited all these years for this pleasurable moment of bliss.
Try it!
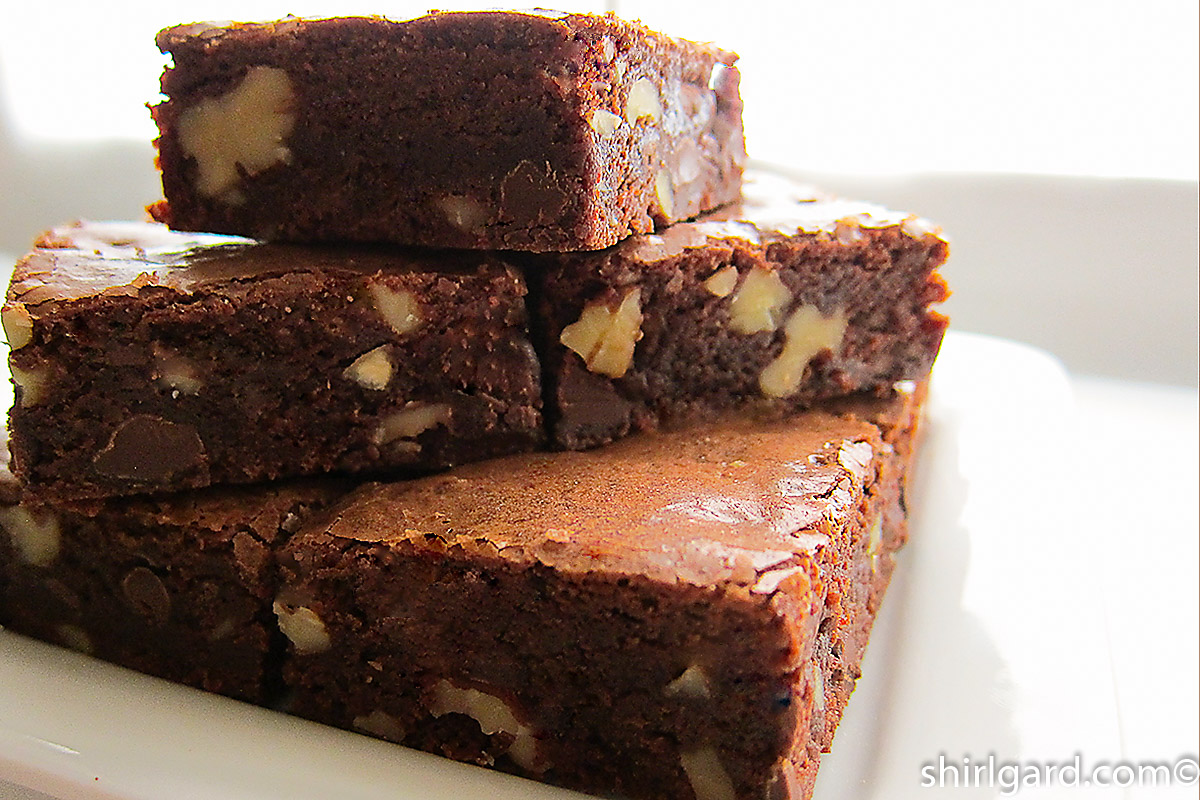
Triple-Chocolate Nut Brownies
YIELD: 24 - 2-INCH (5 cm) SQUARES - 54g (2 oz) EACH
ONE - QUARTER SHEET PAN - 9 1/2" x 13" (24 cm x 33 cm)
Ingredients
- 170 grams bittersweet chocolate 1 1/4 - 4 oz. packages - Ghiradelli Bittersweet 60% Cacao
- 60 grams unsweetened chocolate 1/2 - 4 oz package - Ghiradelli 100% Cacao
- 170 grams unsalted butter 1 1/2 sticks
- 200 grams eggs 4 large
- 350 grams sugar 1 1/2 cups
- 10 grams vanilla extract 2 teaspoons
- 120 grams all-purpose flour 3/4 cup
- 5 grams fine sea salt 1 teaspoon
- 135 grams chocolate chips 3/4 cup Ghiradelli or Nestlé
- 115 grams walnuts or pecans toasted and coarsely chopped (1 cup)
- 1335 grams = Total 47 oz 2# 15 oz
Instructions
- PREP THE PAN: Line a quarter sheet pan with aluminum foil and spray with Pam (with flour). The foil makes it easier to lift the brownies out of the pan to cut.
- MELT the chocolate with the butter, stirring occasionally, until the mixture is smooth, using a metal bowl set over a pan of barely simmering water. When melted, remove the bowl from the heat and let the chocolate cool to room temperature. Or, melt chocolate and butter in microwave at 50% power.
- WHISK eggs until well beaten, in a large bowl. Stir in the sugar and vanilla.
- ADD melted chocolate and butter; stir well.
- MIX in the flour and salt, stirring with a whisk, until the mixture is just combined.
- STIR in the chocolate chips and the nuts. Scrape the bottom and sides of bowl and mix in, using a rubber spatula.
- POUR the batter into the pan and spread evenly, smoothing the top with an offset spatula.
- BAKE in 350º F (177° C) oven 32-35 minutes total, or until a wooden skewer comes out with just a few moist crumbs adhering to it. Rotate pan after 20 minutes of baking. ( Don't allow to bake until tester comes out clean or the brownies will be over-baked and too dry.) Watch closely and test often towards the end of the baking time. Let cool in the pan.
- CUT BROWNIES into 2" (5 cm) squares when cool. How you cut them depends on how perfect you want the brownies to look. You can cut them in the pan using the "eyeball" method for size (the most rustic look), or lift out with the foil and place on a cutting board to cut. If cutting in the pan, use a not-too-sharp dinner knife to prevent damaging the pan. The brownies can also be refrigerated and cut cold (a little less rustic). For a clean professional cut, with sharp edges, freeze before cutting, which is the technique I prefer. Lift frozen brownies out of the pan holding onto the foil, then cut into 2" wide strips (measured with a C-thru ruler) using a long thin slicing knife. Then cut crosswise in 2" strips, creating 2" squares. I know that sometimes you just can't wait for all of the chilling or freezing, so go ahead and dig in.
- SERVE plain or dusted with powdered sugar.
Notes
Yum: Skye licking the spatula
Thanks for stopping by. Enjoy!
Shirl
[/fusion_builder_column][/fusion_builder_row][/fusion_builder_container]
Hi Shirl,
I met you in LA’s writer’s group this week…I love to cook and I love your blog…I will be a new reader…Keep going, it’s wonderful….
Moira
Hi Moira,
It was great meeting you too. L A has a wonderful group of women. I appreciate you comments about my blog. Thanks.
Shirl
I was just browsing and came across your blog. Love your blog. You have explained everything so well. Amazing!!