12.01.21
10 Tips for Making Great Granola: Shirl’s Cranberry Almond Granola
1. USE A GOOD RECIPE:
All granola recipes are not created equal. This one has been tested, tweaked, and re-tested since I first developed it years ago, when the chef asked me to develop a house-made granola that he could put on the breakfast menu. This recipe was the result. The biggest challenge was getting the ratio of dry ingredients to liquid ingredients correct. If there’s too much liquid, the granola will be soggy; if too little, the ingredients will not bind together enough to create little clumps and clusters. In addition to the balance or ratio, a good granola recipe must have a memorable flavor. I think this one does.
- RECOMMENDED DRY-TO-LIQUID RATIO:
- 1.5 : 1, or close (by weight)
- The ingredients in this recipe: 1255g dry to 780g liquids = 1.6 : 1
- This ratio does not include the add-ins such as nuts, pumpkin seeds, or dried fruit.

2. MAKE GRANOLA KITS TWO AT A TIME:
This is such a time-saving technique because it takes only a little more time to scale out two batches as it does one. Weigh two batches of the dry ingredients, nuts, pumpkin seeds, and dried fruit. Bake one batch now and store one to bake later. For the one you plan to store, separate ingredients accordingly into air-tight plastic bags and store in a plastic box. The box of stored dry ingredients is what I call a “granola kit.” It will keep about 2 months at room temperature, about the length of time it takes to use up the first batch. The liquid ingredients for each “kit” should be weighed out when ready to bake.
3. BUYNG & SUBSTITUTING INGREDIENTS:
It’s best to buy from a store that sells from bulk bins, where you can weigh the ingredients, such as a co-op grocery store or Whole Foods. Take your recipe and go down the list of ingredients and buy double the quantity called for if making two batches. If you are short on time, Amazon will work too.
It’s fine to make substitutions, but sub similar ingredients in the same exact quantities called for in the recipe, to keep the recipe balanced. Examples of things to substitute: any dried fruit of your choice for raisins, maple syrup for honey, different nuts for the almonds. Also, whole grain puffed rice cereal or Rice Krispies make a good substitute for the puffed wheat. Again, just keep the quantities the same.
-
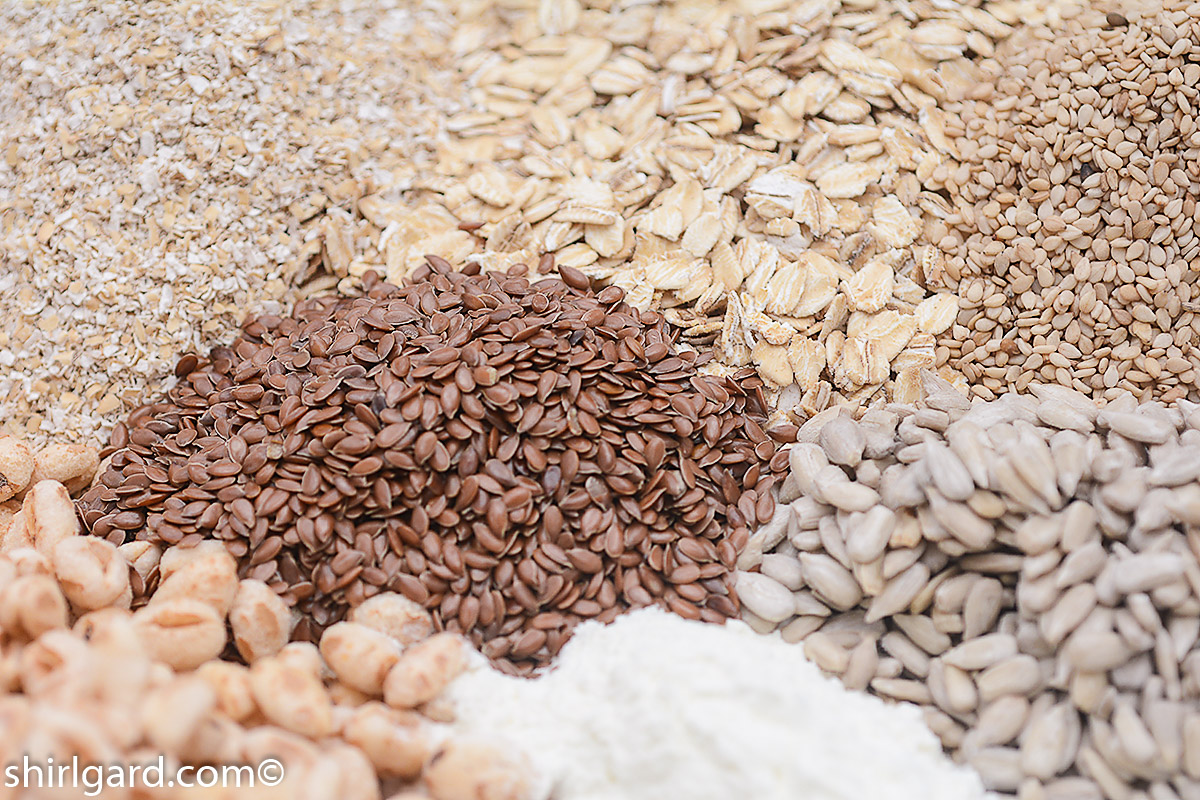
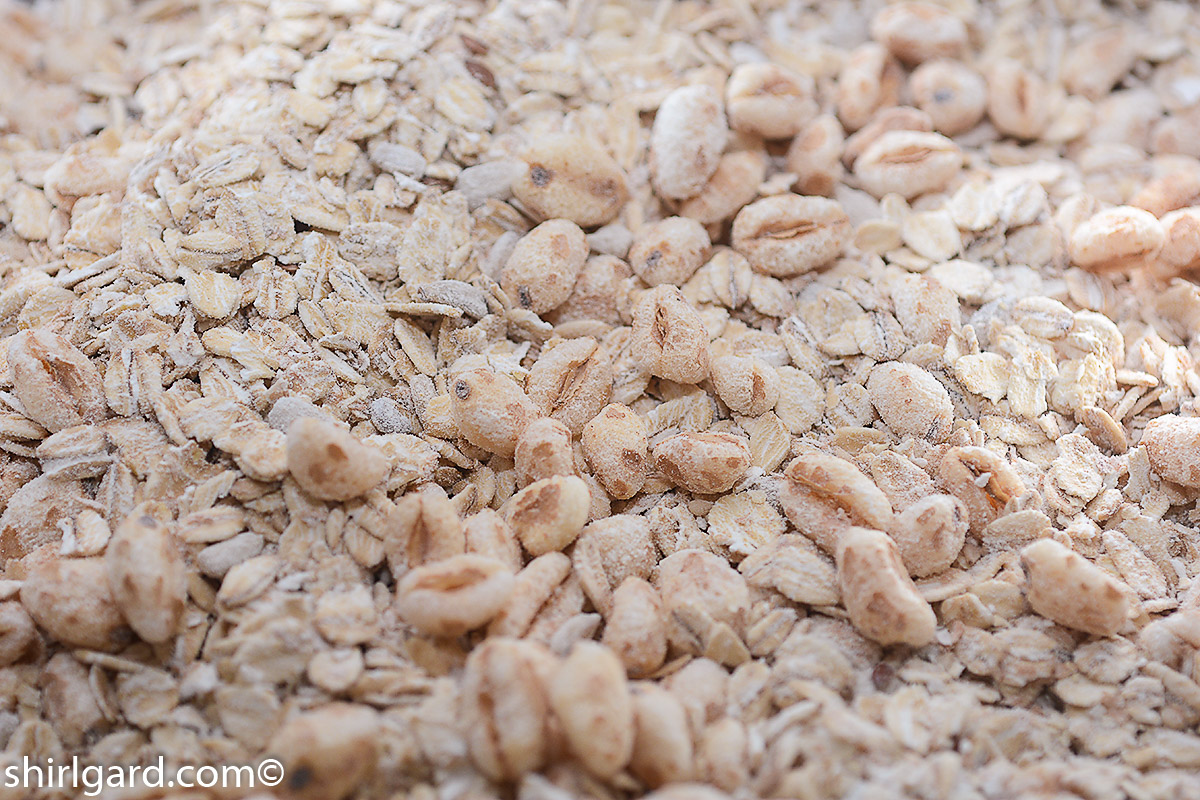
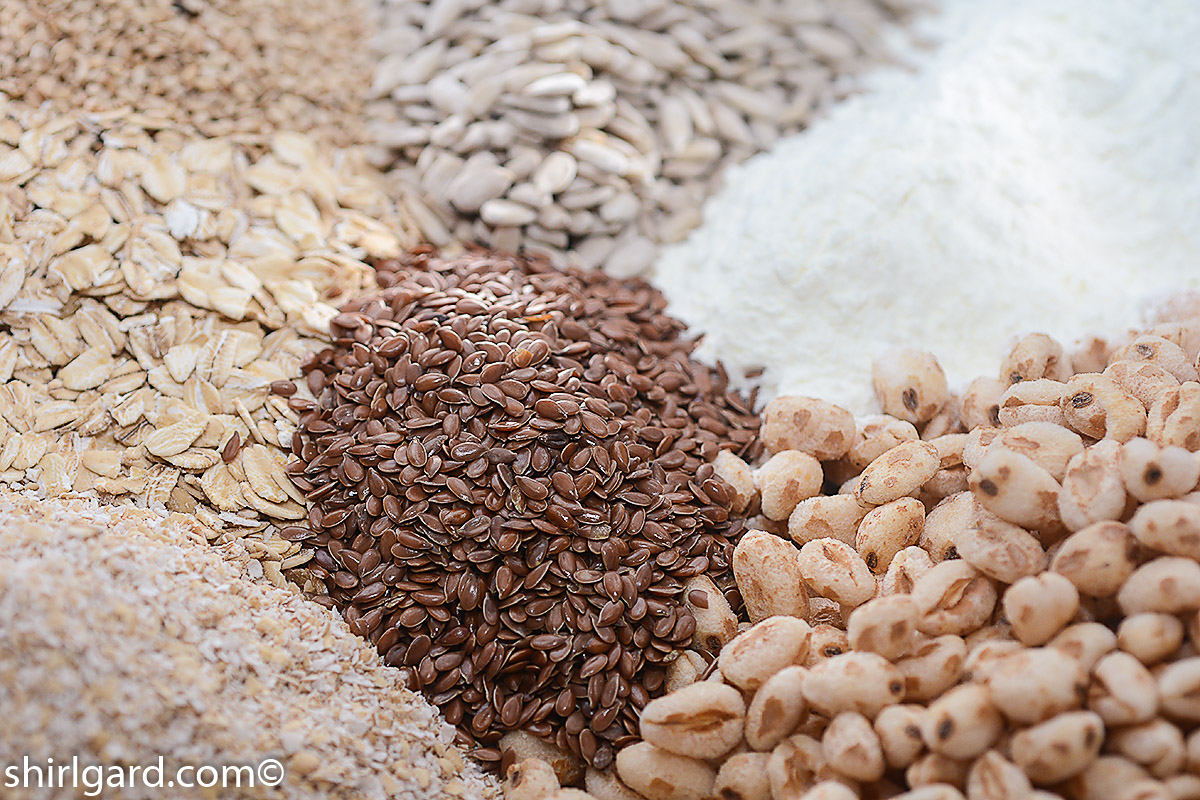
- Dry Ingredients: Rolled oats, oat bran, raw wheat germ, puffed wheat dry cereal, dry milk powder, & seeds
-
- Mixed dry ingredients
-

- Liquid ingredients: Canola oil, honey, & vanilla extract
-

- Whole raw almonds & slivered almonds
-
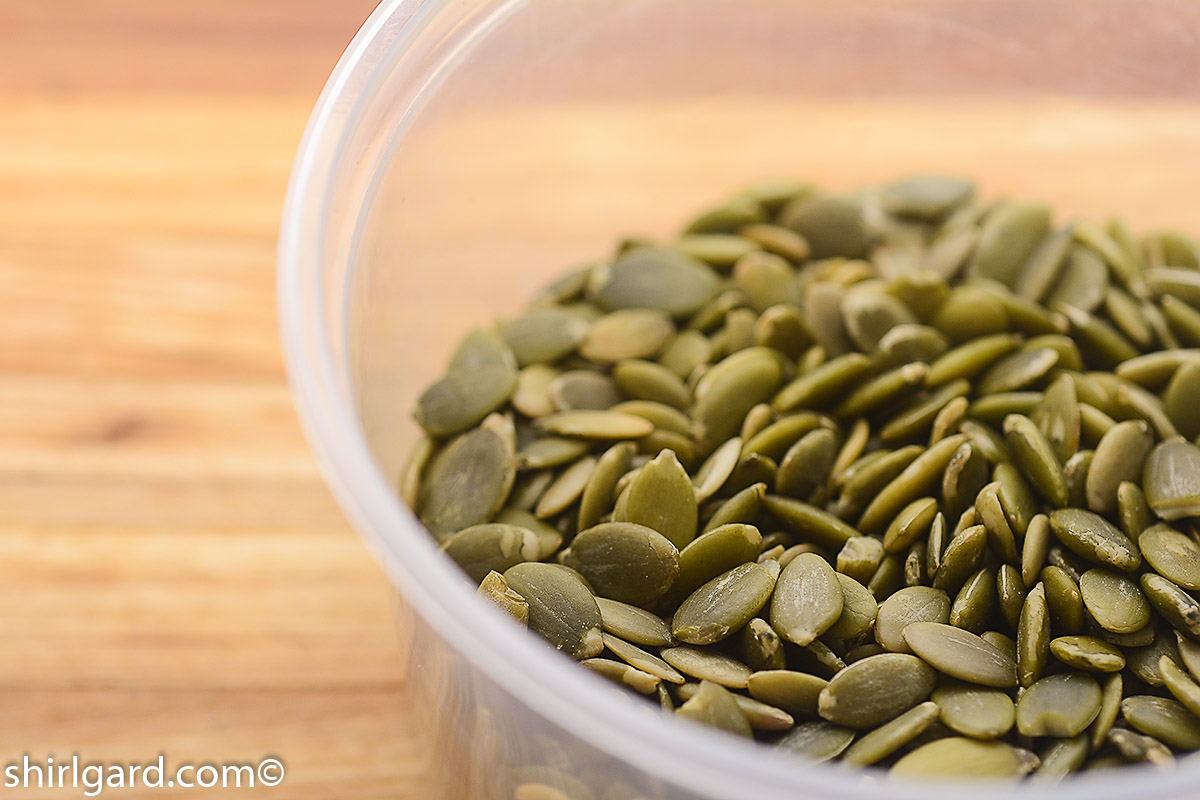
- Pumpkin seeds
-
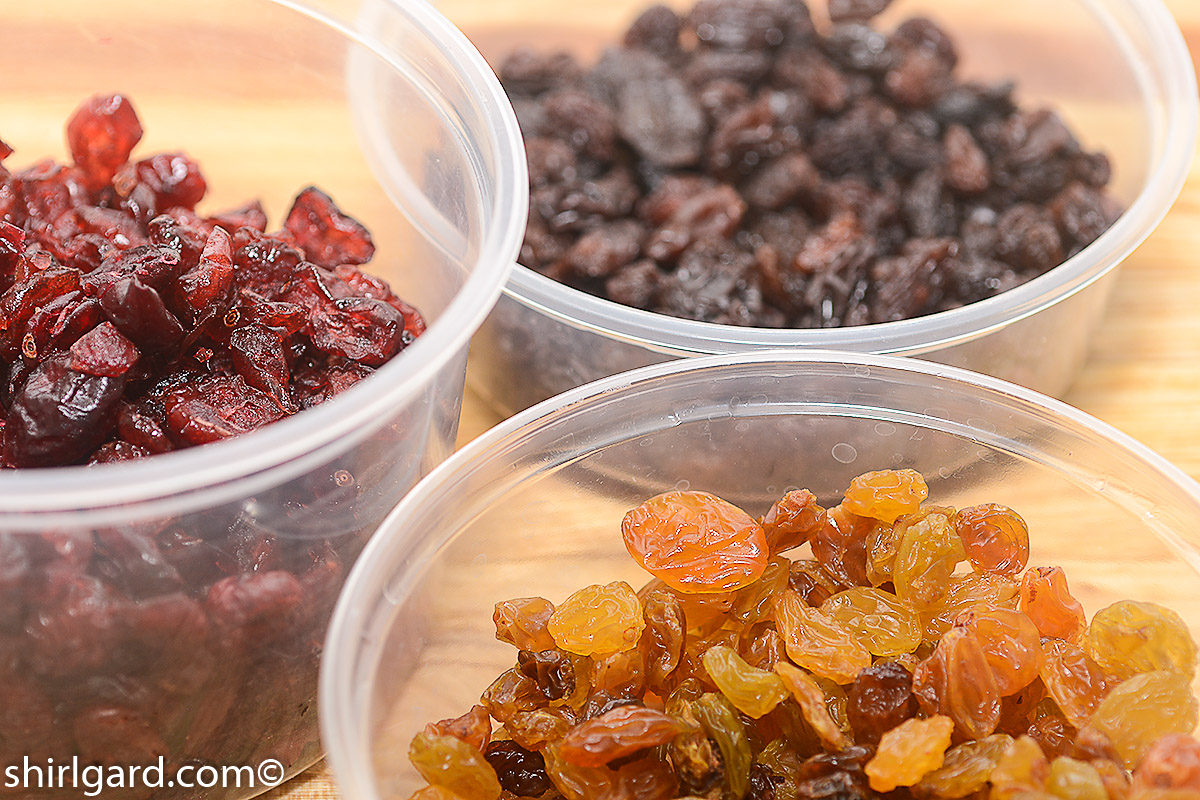
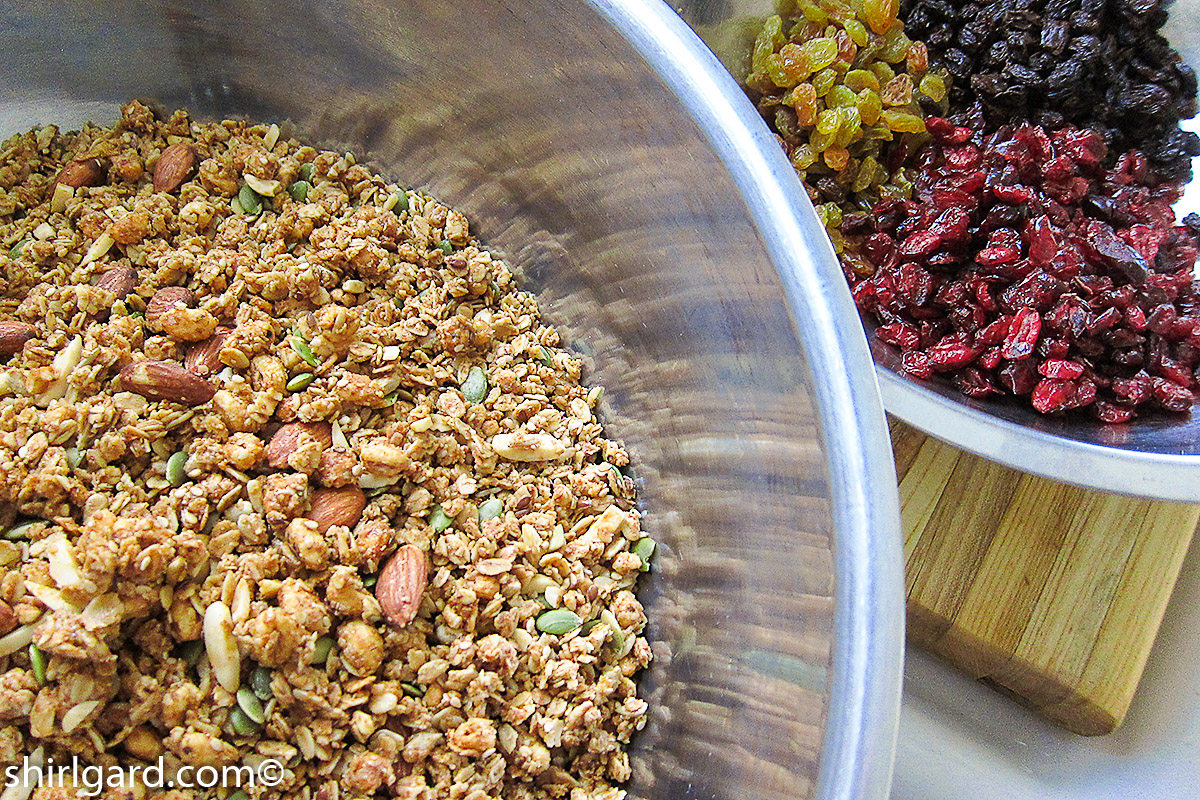
- Dried cranberries, dark raisins, & golden raisins
4. GATHER EQUIPMENT:
Make sure you have all the equipment you will need. Here’s what I use:
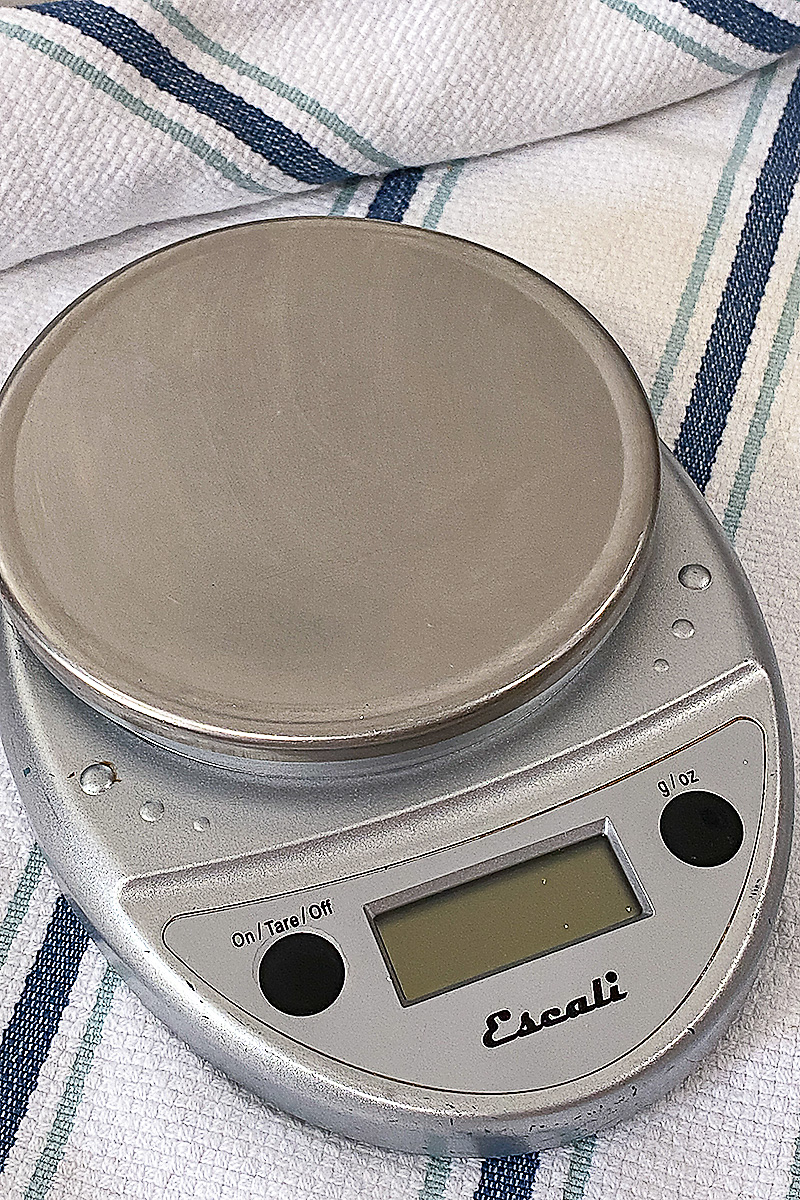
- Kitchen Digital Scale – To weigh all the ingredients. It’s so much easier than measuring. For instance, when weighing the dry ingredients, use a large bowl and the “tare” feature setting your scale back to “0” after you add each ingredient.
- Plastic Deli Containers – For weighing ingredients like dried fruit and nuts as shown in the photos.
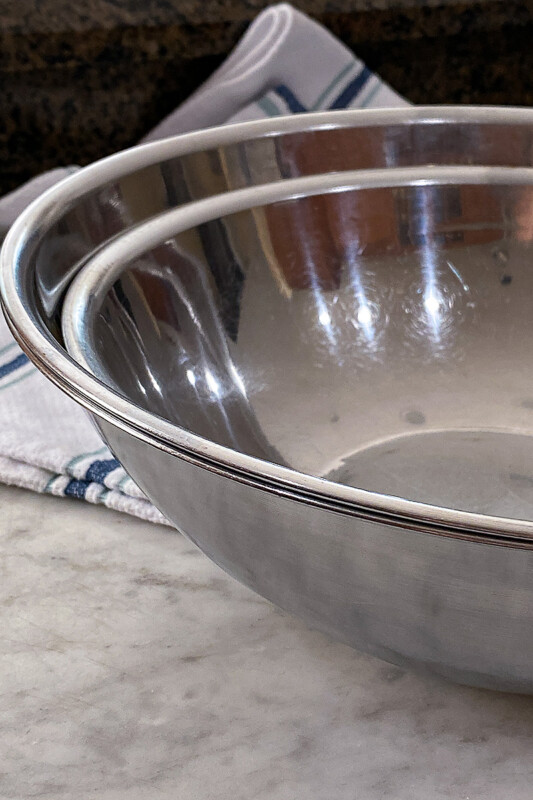
- 2 Extra-Large Stainless Steel Bowls – To scale out two batches, one “kit” to bake now and one to store. If you don’t have a bowl large enough for the whole batch, use two mixing bowls with half in each bowl.
- Hand Blender & Large Glass Measuring Cup (8-cup) – To emulsify the liquid ingredients
- Kitchen Aid or Other Stand Mixer – Although a mixer is optional, mixing half of the recipe in the mixer using the paddle, and half by hand, produces a better final result. This is because the mixer binds the ingredients together tighter creating better bite-size chunks. If no mixer, you can mix the granola completely by hand but you will have to squeeze hard. If you’re in the market for a mixer, I highly recommend the Kitchen Aid 6 Qt. Professional 600 Series Bowl-Lift Stand Mixer and not the kind where the whole head lifts up.
- Vinyl or Nitrile Gloves – For hand mixing (Optional / Costco is a good place to get these.)
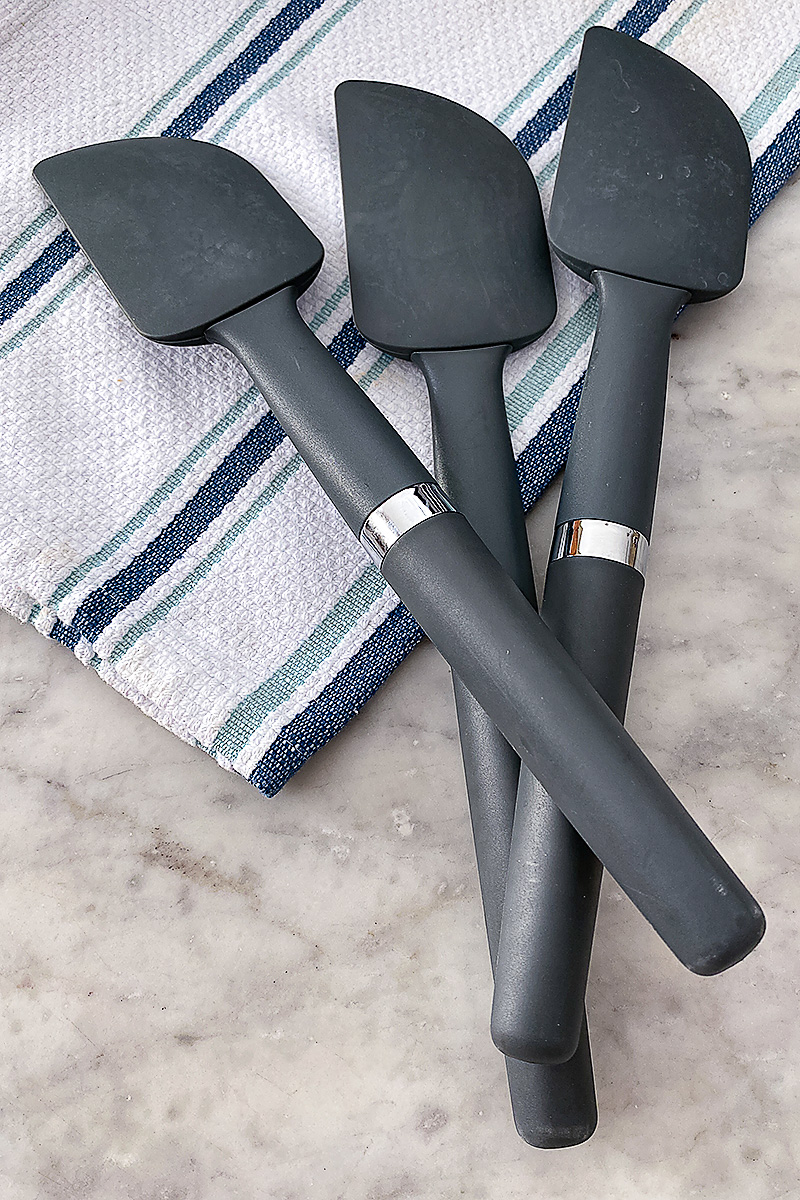
- Large Rubber Spatulas
- 2 Half Sheet Pans – 18” x 13” x 1” (45cm x 33cm x 2.5cm) lined with parchment paper
- Parchment Paper – For lining half sheet pans
- Timer
- Large Spoon – For stirring the granola during the baking process
- Air-Tight Plastic Box – Large enough to store your batch of baked granola
- Plastic Bags and Second Air-Tight Plastic Box – For storing “kit” to bake later
-

- Digital scale.
-
- Large stainless steel bowls

-

- Rubber Spatulas.
-
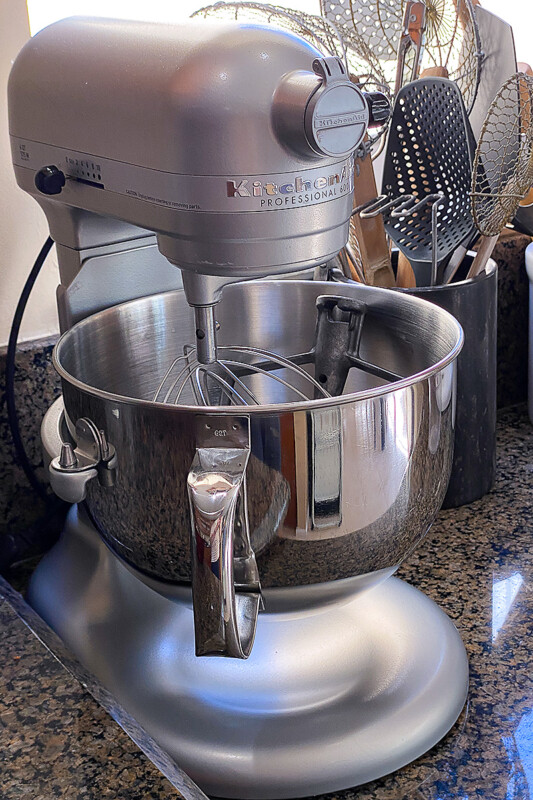
- Kitchen Aid Pro 6-Qt. bowl-lift

-
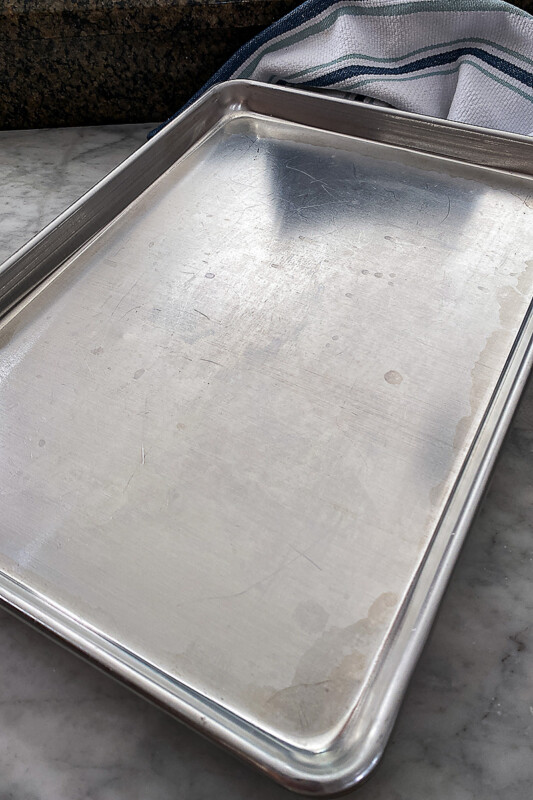
- Half sheet pans

-
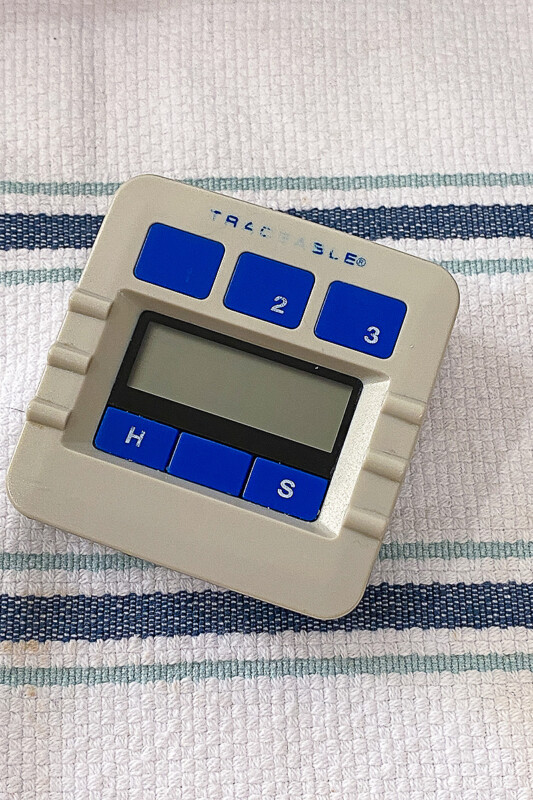
- Timer

5. MIXING PROCEDURE:
My preferred 2-Step method:
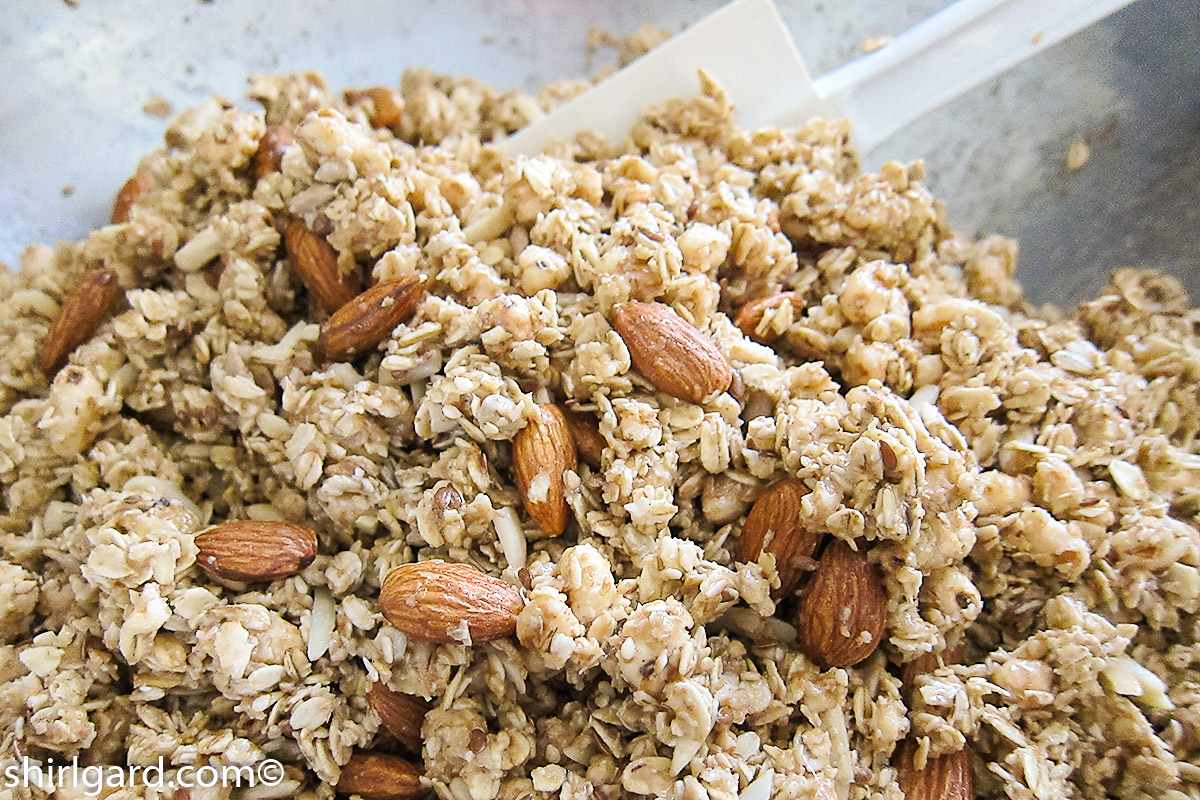
- Mix By Hand – Put on a pair of vinyl or nitrile gloves and dig in. Put the dry ingredients in a large bowl and toss to mix, add the emulsified liquids, and start squeezing. Squeeze handfuls together until all dry ingredients are coated with the liquids. As you squeeze, the granola will begin to stick together.
- Use a Mixer – Then mix half the granola in a Kitchen Aid, or other mixer, on low speed using the paddle. Mix for about 2 minutes, until it sticks together in clumps when you squeeze it. Then combine the two batches. What the mixer does, that you cannot replicate by hand, is to bind the ingredients tighter causing little clusters to form when baked.
Note: You can mix all by hand, but the result will be a more granular texture, (i.e., smaller pieces, not chunks) than the preferred method. If you want a looser granola, more like dry cereal or oats, then mix by hand.
-
- Dry Ingredients: Rolled oats, oat bran, raw wheat germ, puffed wheat dry cereal, dry milk powder, & seeds
-
- Mixed dry ingredients
-
- Liquid ingredients: Canola oil, honey, & vanilla extract
-
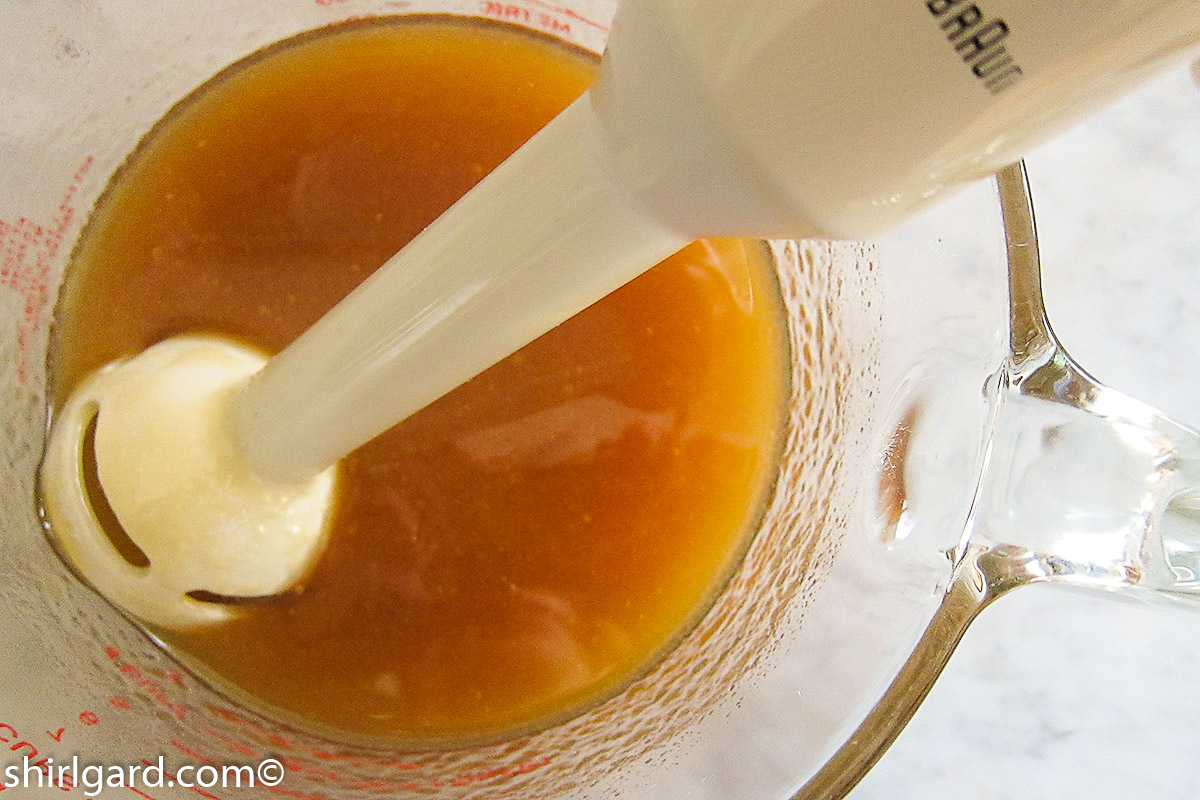
- Using a hand blender to emulsify liquids in an 8-cup Pyrex measuring cup
-
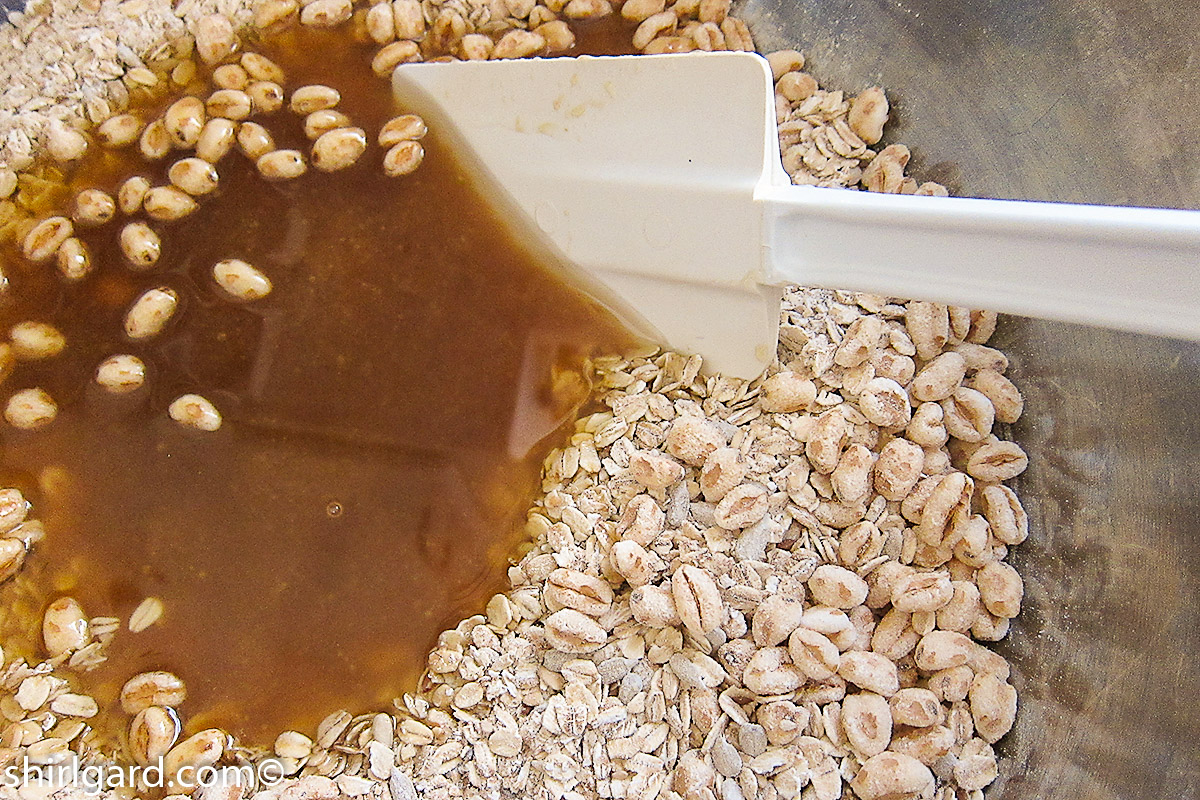
- Mixing liquids into dry
-

- Dry ingredients coated with liquids. This is the point, before nuts are added, when you mix half in mixer (if using)
-
- After nuts are added, spread evenly in two half sheet pans
-
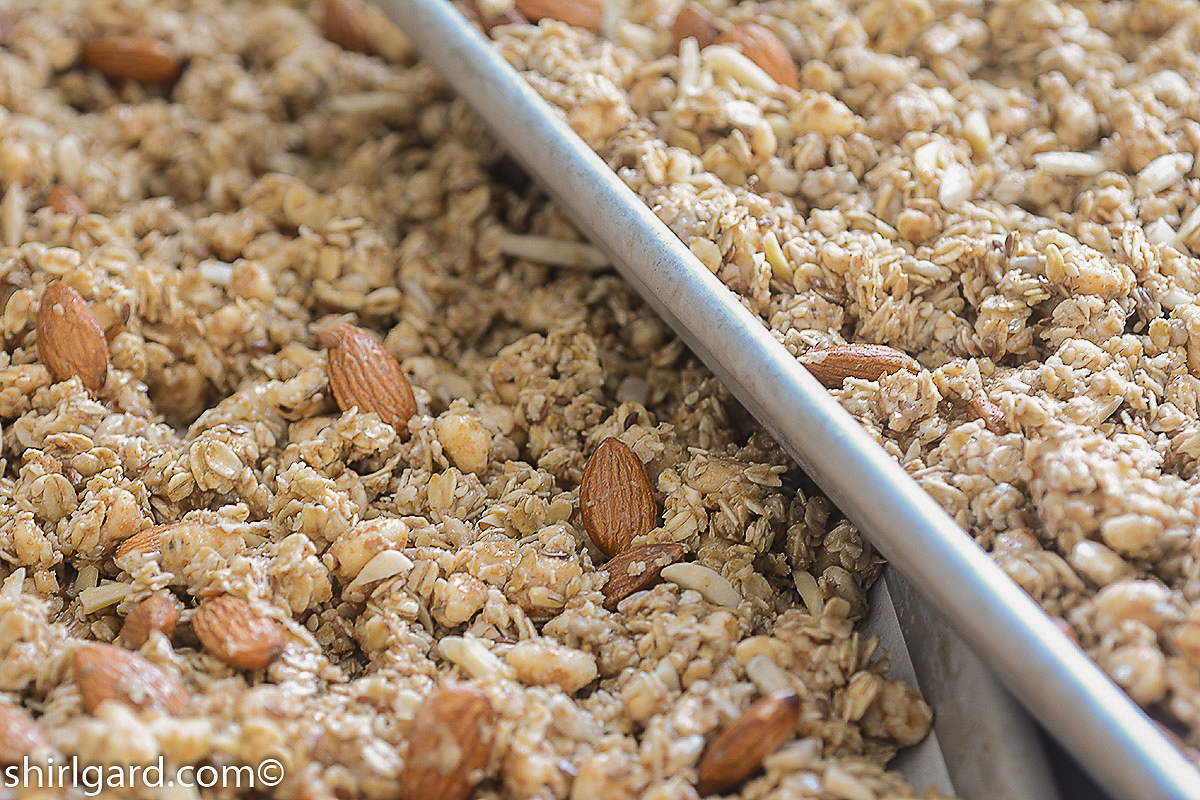
- Oven eady
6. HOW TO STIR DURING BAKING PROCESS:
There is a right way to stir granola during the baking process. Don’t try to stir it while still in the oven. Take out one pan at a time and set it on the counter, rotating between shelves after stirring. Since granola tends to brown first around the outside edges of the pan, use a large spoon and gently pull it towards the center and away from the edges; then re-distribute the granola evenly in the pan. Doing this will ensure an even bake. Be gentle; you don’t want to disturb the clumps that are starting to form.
When to stir the Granola? 1st Stir: 30 minutes after putting in oven. 2nd Stir: one hour after putting in oven. After the 2nd Stir, before returning the pan to the oven, add the pumpkin seeds for the last 15-20 minutes. Scatter them all over the top of the granola without mixing them in. When baked the whole time, they will turn brown and lose their pretty green color.
-

- Gently stir granola from outside edges toward the center of the pan and re-distribute
-
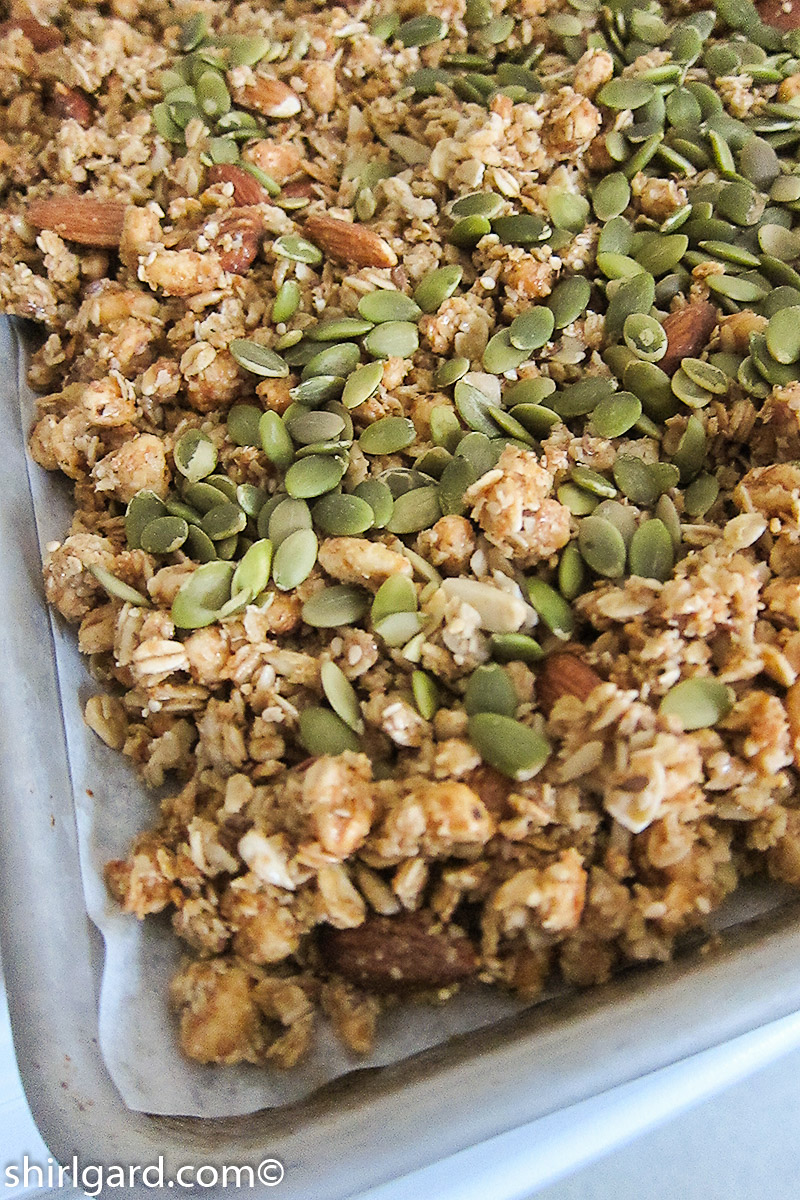
- After 1 hour of baking, scatter the pumpkin seeds over the top for the last 15-20 minutes
7. BAKE IT LONG & SLOW:
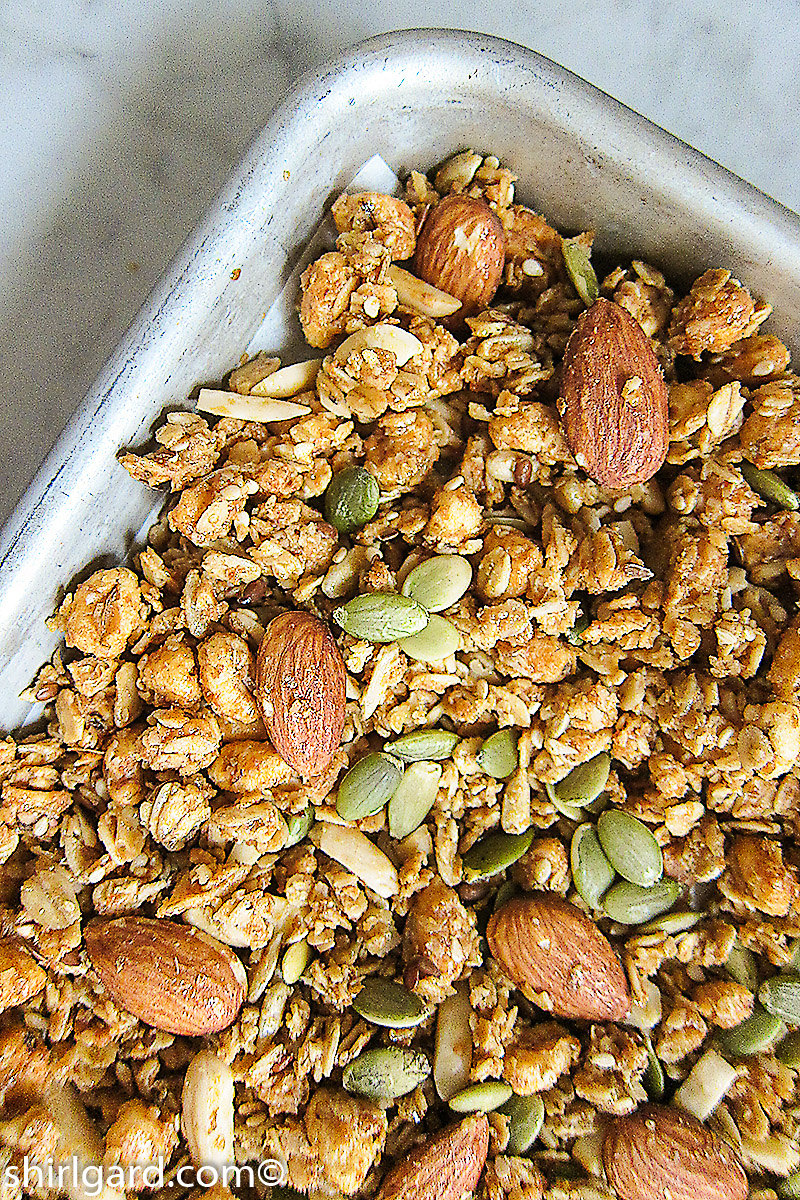
The goal in baking granola is to achieve a golden brown color and a texture that is crisp and crunchy at the same time. This requires a low oven temperature so the granola will slowly dry out while also turning brown.
Preheat the oven and bake the first 30 minutes at 275°F (135°C). Stir, then turn the oven down to 250°F (120°C) and bake another 30 minutes. Stir again and finish baking, another 15-20 minutes. The total baking time is 1 hour and 15-20 minutes. During the baking process, I stir it every 30 minutes.
Baking at elevated temperatures, anything above 300° F (150 ° C), runs the risk of burning the granola. A high oven temperature is the worst thing that can happen to granola, producing a result that is either too brown or burned on top and soggy underneath.
Don’t under-bake or over-bake. Under-baking will produce granola that is chewy and soggy, not crisp and crunchy; it will also be lacking in that appetizing golden brown color. Over-baking produces a granola that is too dark, which causes the granola to have a bitter taste.
When is the granola done? You cannot tell while hot; it must be cool to check. Here’s how to test for doneness: when you think it is the right golden brown color, take a little bit out of the oven and let it cool on the counter, then taste. It should be crisp and crunchy. If not, bake a little more, but watch closely.

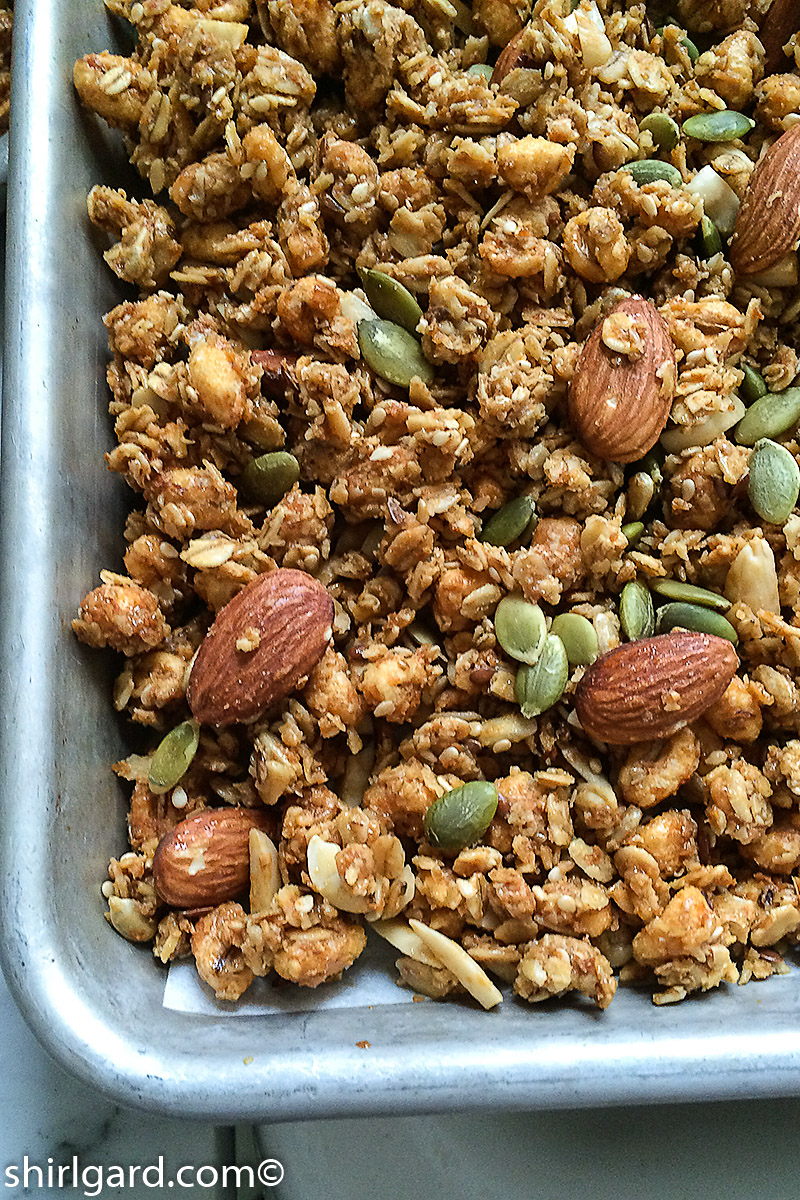
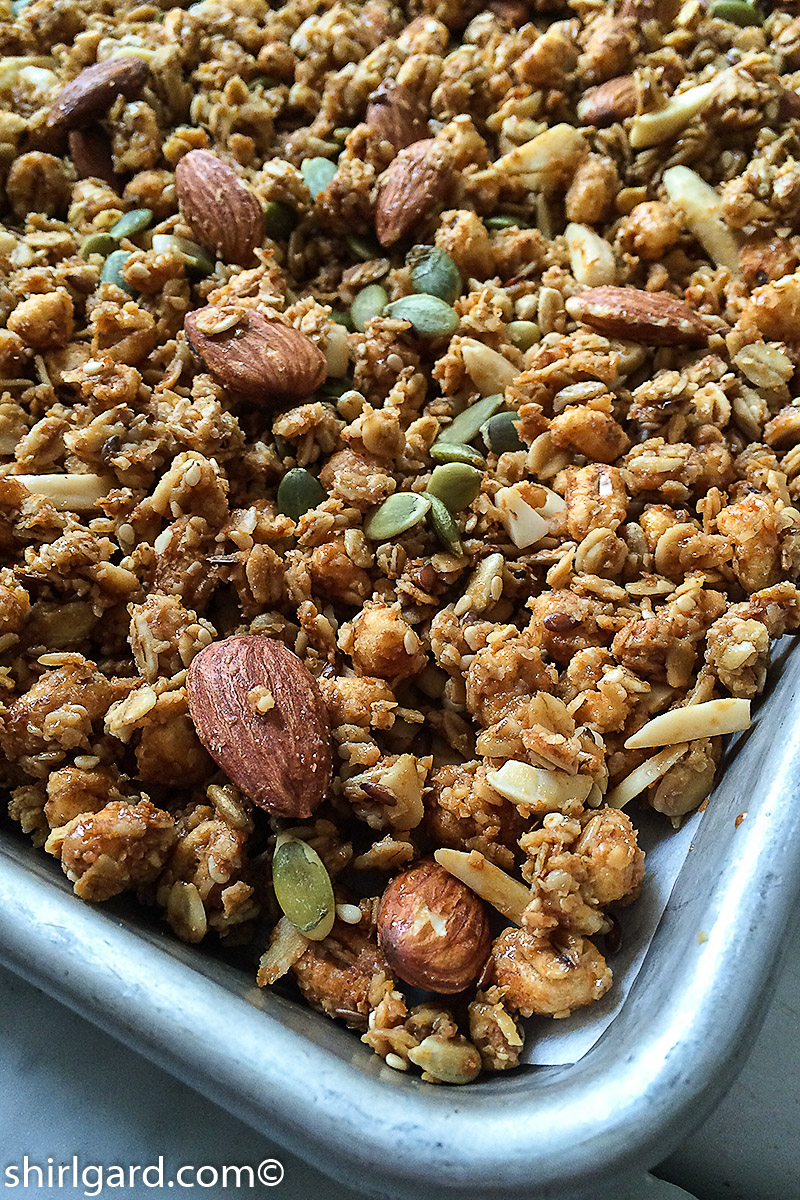
Golden Brown: the color you’re looking for
8. COOLING:
Let the granola cool in the pan 8-10 minutes before you touch it. This will allow it to set up and stick together before you break into chunks. If you stir or break up right out of the oven, the granola will be very granular (tiny pieces) instead of chunky.
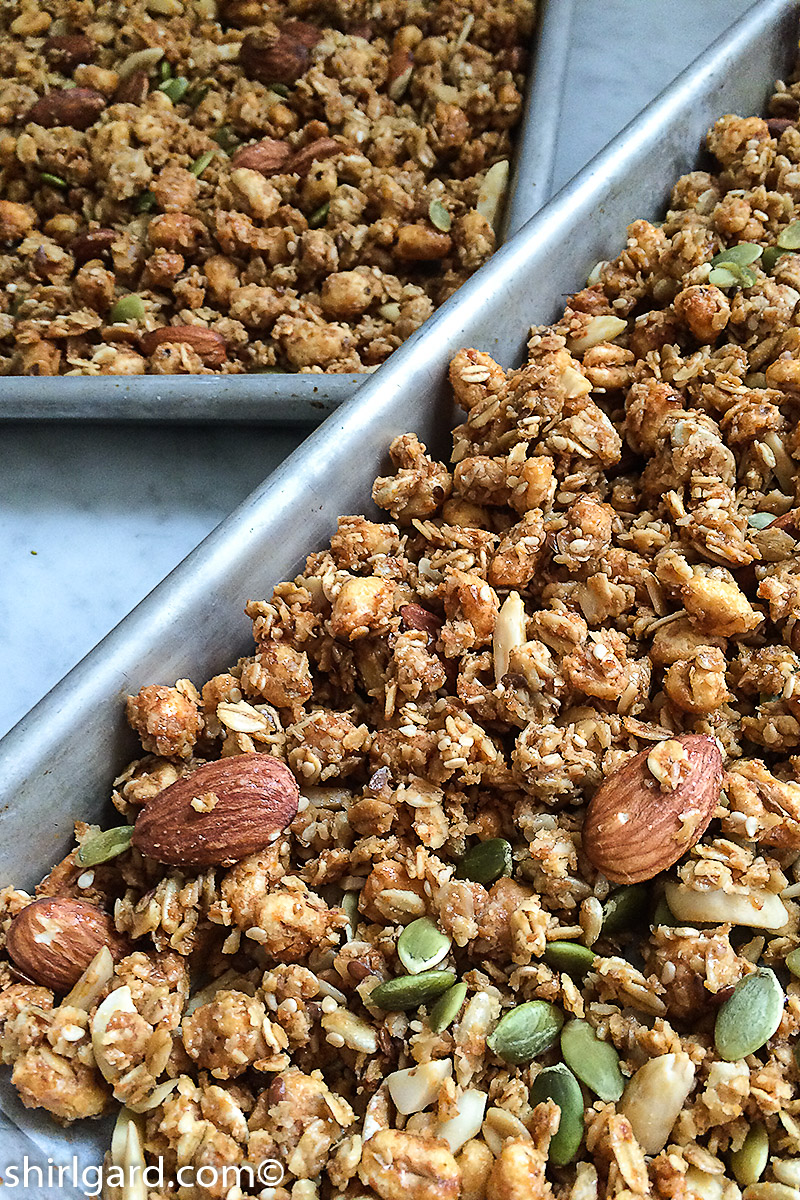
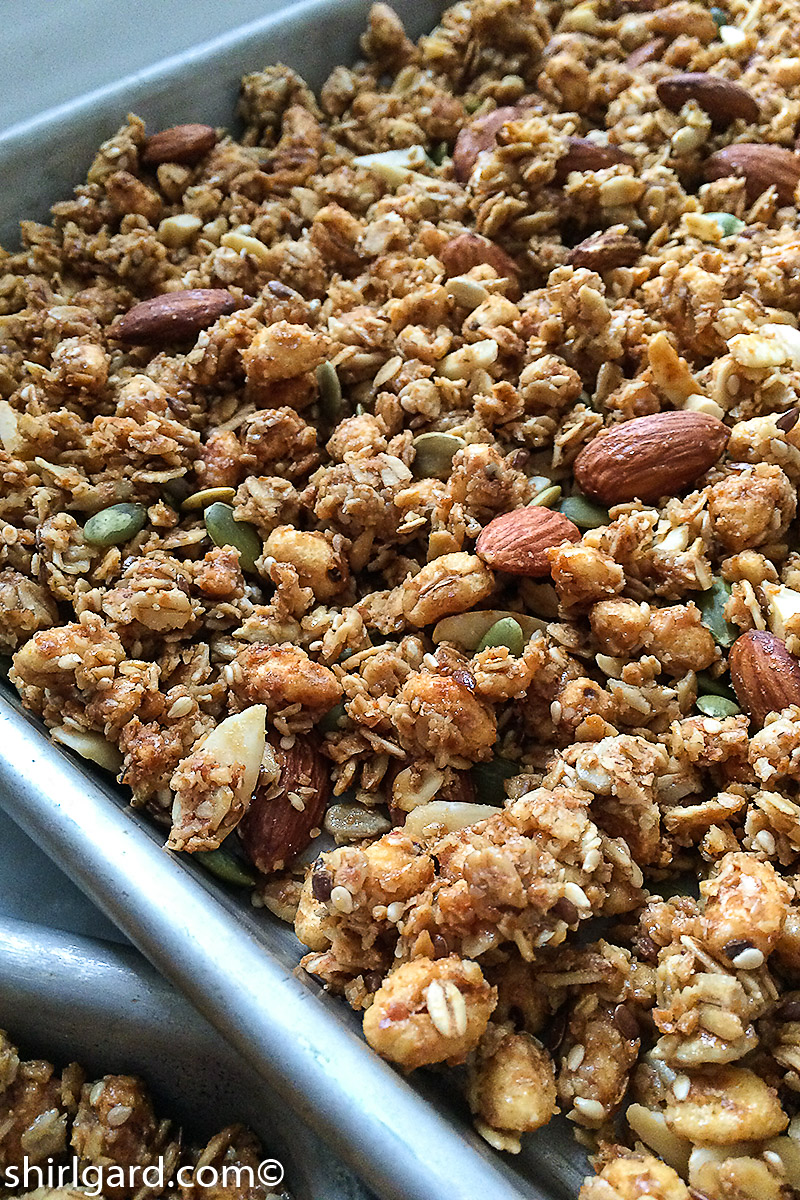
Cooling baked granola
9. HOW TO HANDLE DRIED FRUIT & OTHER ADD-INS:
Don’t bake the dried fruit; add it after the granola has cooled. The dried fruit will get too hard if baked with the granola. When using pumpkin seeds (pepitas), add those after the 2nd Stir (after 1 hour of baking), during the last 20 minutes, just to get them good and hot. (See “How to Stir” above.)
-

- Baked & cooled granola ready to mix in the dried fruit
-

- Scatter dried fruit over the top then mix in
-
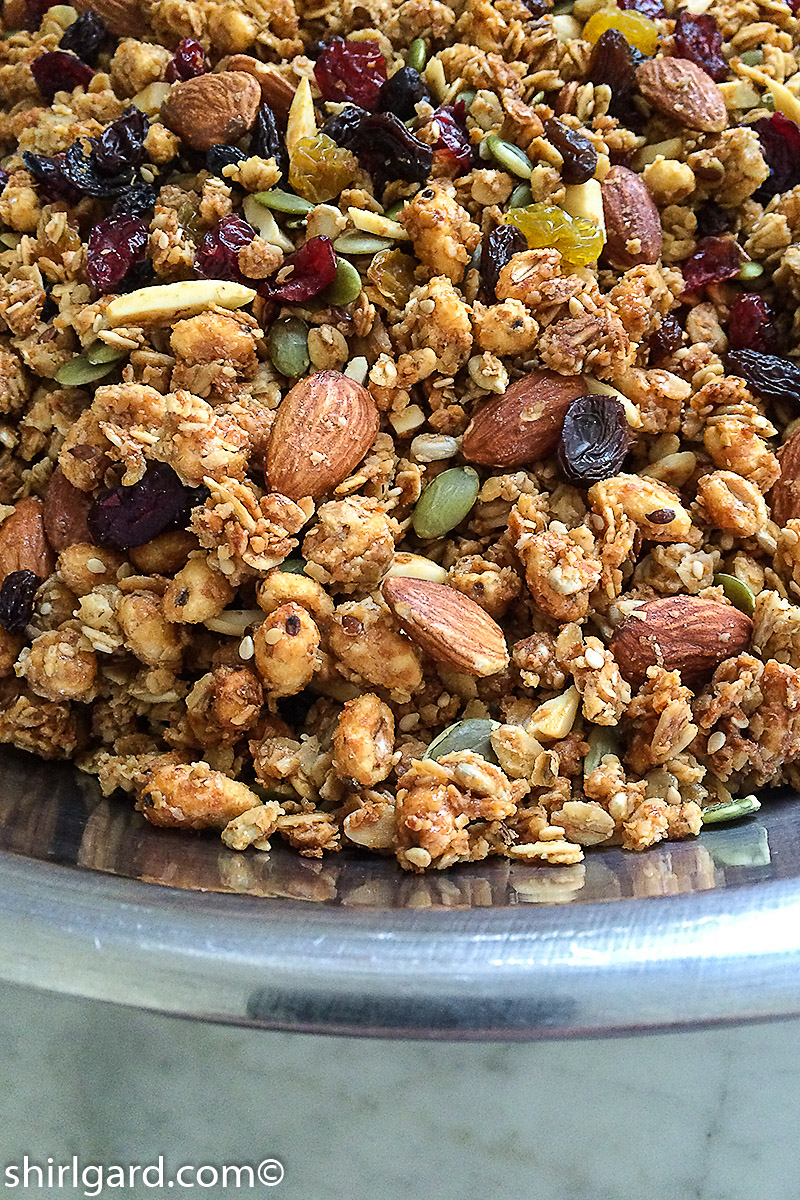
- Finished granola
-
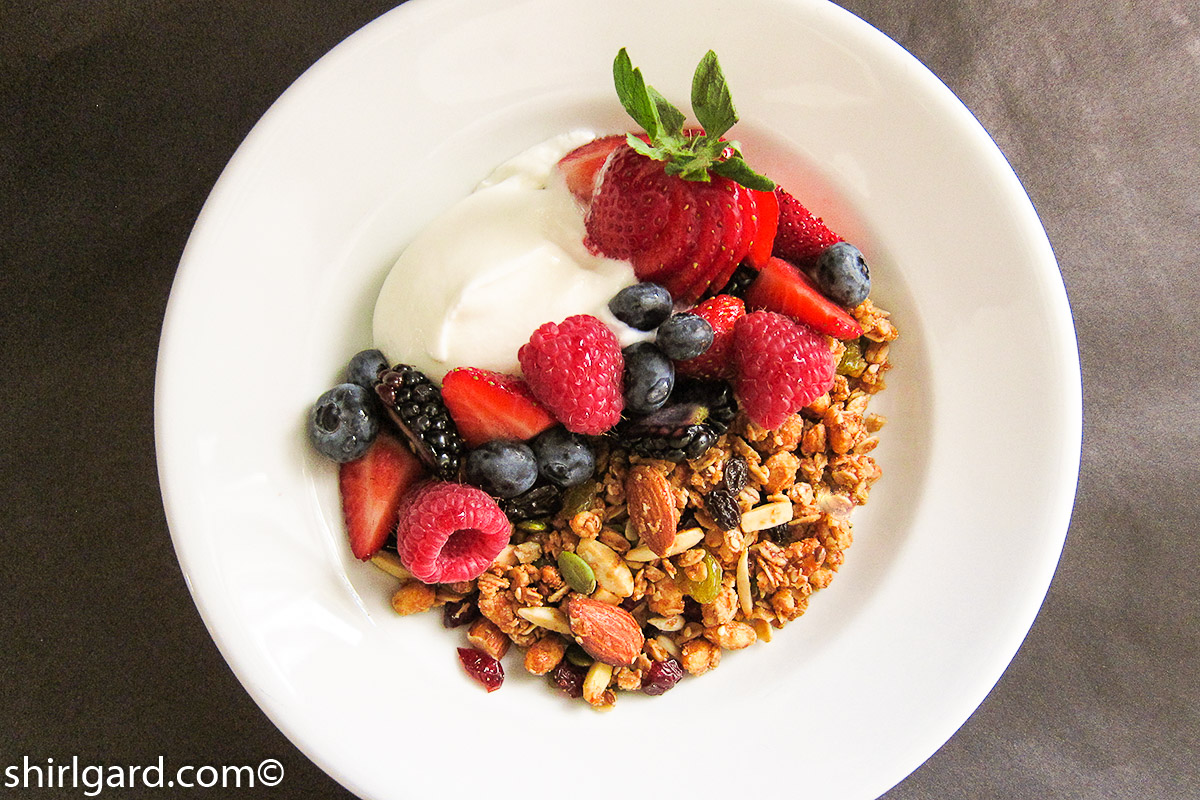
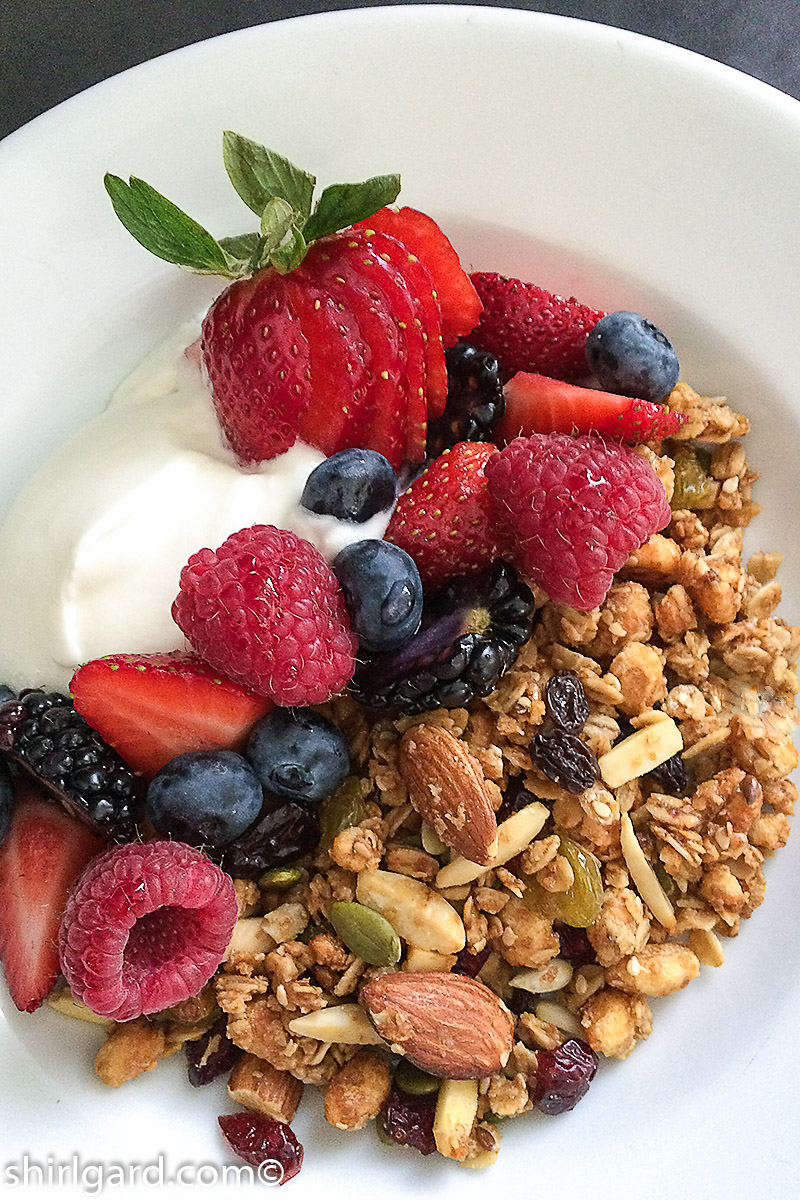
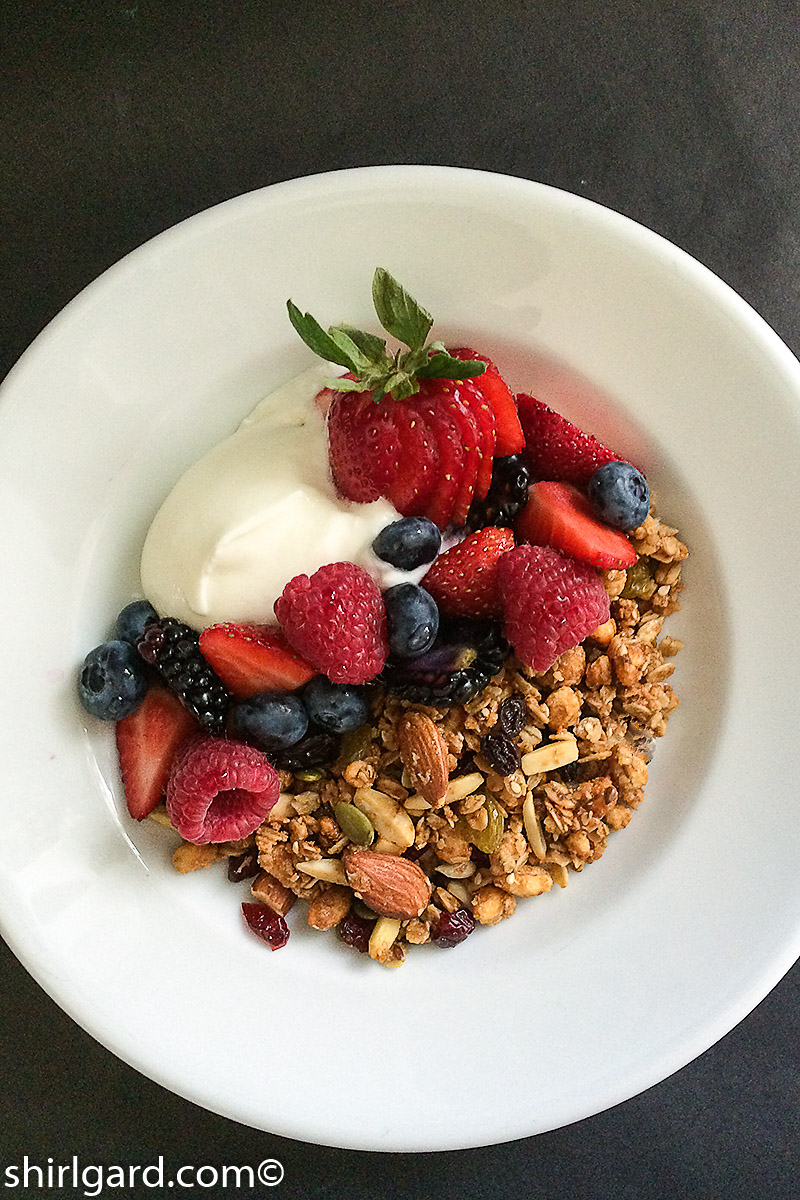
- Ready to serve
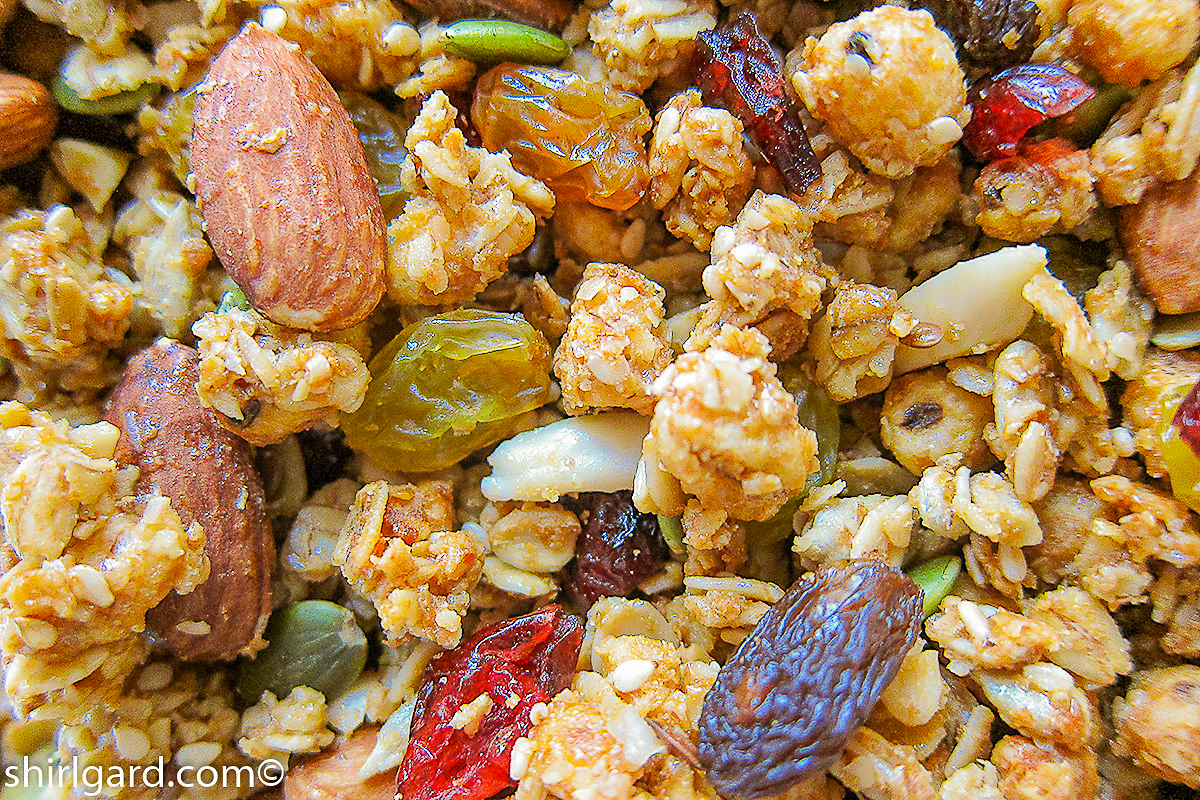
Close-up
10. STORAGE & SERVING:
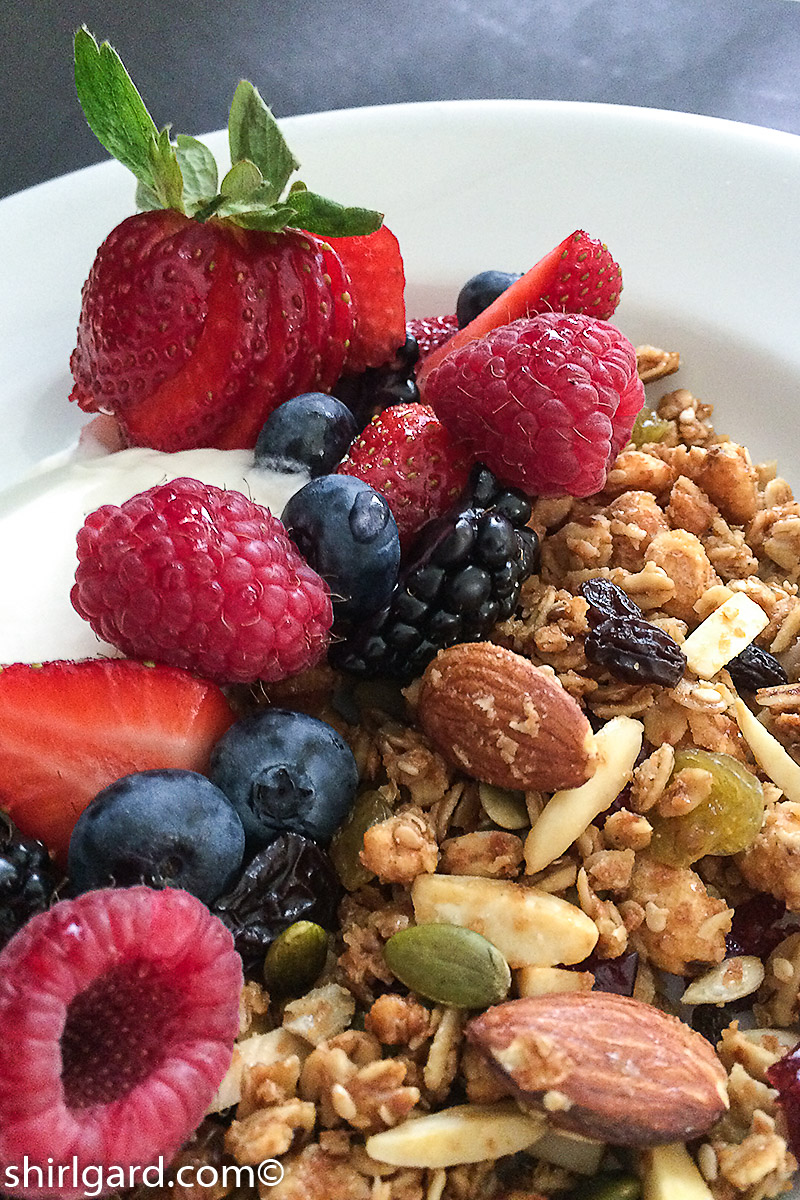
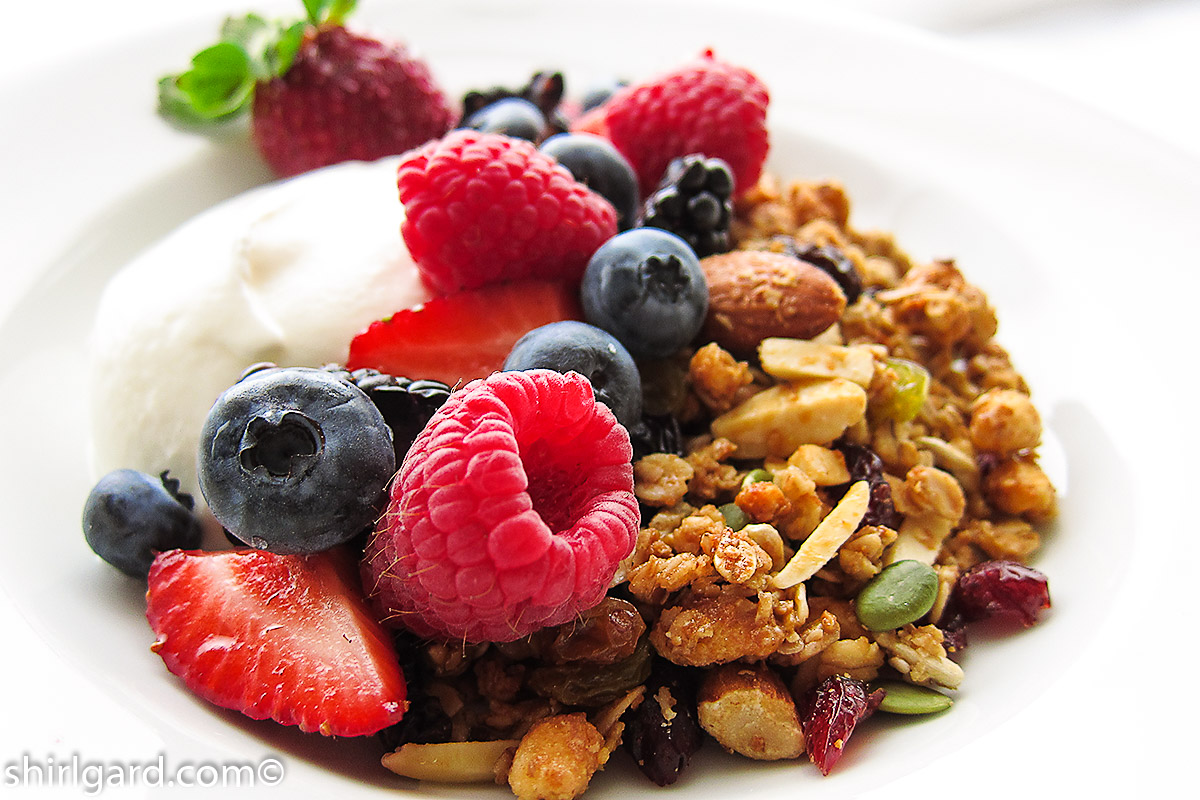
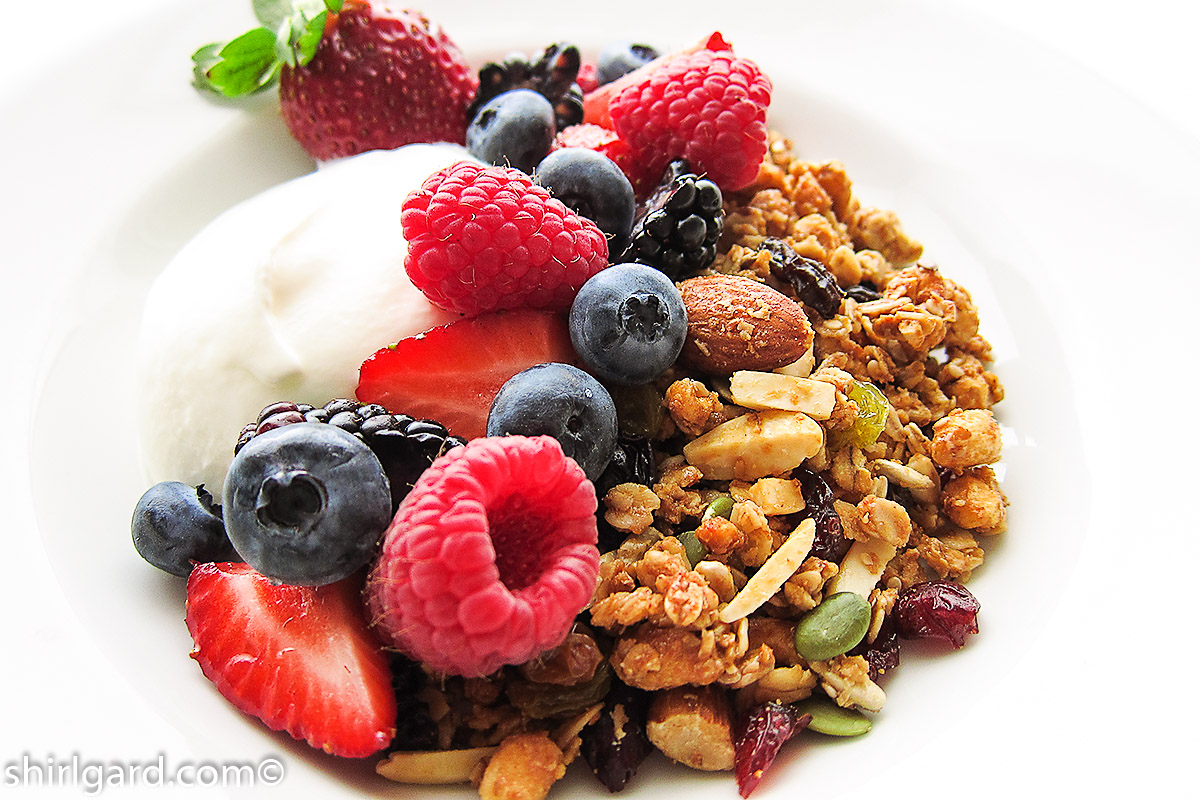
Keep in an air-tight plastic storage box to prevent getting soggy; granola will stay crisp for up to two months if treated this way. Here’s what to do if it does lose its crunchiness: spread out on a sheet pan and heat in the oven just long enough to get it good and hot, about 15 minutes at 250°F (120°C), then let cool. Granola is good served any way you like, including as a snack, but my all-time favorite is with creamy whole milk Greek yogurt and fresh berries as shown in the photos in this post.
-
- Perfectly baked granola
-

- My favorite way to serve: With Greek yogurt & berries
Shirl's Cranberry Almond Granola
Ingredients
- YIELD: ABOUT 2700 GRAMS 6 LB
- MAKES 2 HALF SHEET PANS
- DRY MIX: 1255g 43.9%
- 750 grams old-fashioned rolled oats 7 1/2 cups
- 120 grams oat bran 1 cup
- 80 grams raw wheat germ 1 cup
- 45 grams puffed wheat dry cereal 3 cups
- 80 grams nonfat dry milk powder 1/2 cup + 3 Tablespoons
- 90 grams sunflower seeds 2/3 cup
- 60 grams sesame seeds 1/3 cup + 1 Tablespoon
- 30 grams flax seeds 3 Tablespoons
- LIQUIDS: 780g 27.3%
- 250 grams canola oil 1 1/4 cups
- 500 grams honey 1 1/2 cups + 1 Tablespoon
- 30 grams vanilla extract 2 Tablespoons
- NUTS: 330g 11.5%
- 200 grams whole natural almonds 1 1/3 cups
- 130 grams slivered almonds 1 cup
- PUMPKIN SEEDS: 175g 6.1%
- 175 grams pumpkin seeds 1 cup + 2 1/2 Tablespoons
- DRIED FRUIT: 320g 11.2%
- 160 grams dried cranberries 1 cup
- 80 grams dark raisins 1/2 cup
- 80 grams golden raisins 1/2 cup
- 2860 grams = TOTAL 100 oz 6 lb 4 oz
Instructions
- SCALE all ingredients before starting to mix. Weigh the DRY MIX in an extra-large mixing bowl using the tare function to take the scale back to 0 between ingredients. For LIQUIDS, weigh into an 8-cup Pyrex glass measuring cup with spout. The NUTS, PUMPKIN SEEDS, and DRIED FRUIT should be scaled into separate small deli-type containers because they are added at different times. The NUTS are mixed into and baked with the DRY MIX and LIQUIDS. PUMPKIN SEEDS are added toward the end of the baking time. DRIED FRUIT is not baked; it is added after the baked granola has cooled.
- PRE-HEAT oven to 275° F (135° C) when ready to bake.
- LINE 2 half sheet pans with parchment paper.
- TOSS the DRY MIX with your hands until well mixed.
- BLEND canola oil, honey, and vanilla, using a hand blender, until the liquids are completely emulsified.
- POUR LIQUIDS over the DRY MIX and mix with your hands (I wear nitrile gloves when mixing) until all of the dry ingredients are coated. It helps if you squeeze and rub the mixture between you hands. Add the nuts and rub them in until also well coated with the LIQUIDS. If you like your granola chunky like I do, put half of the mix into a Kitchen Aid mixer fitted with the paddle, and mix on low speed for 2 minutes. (When you squeeze a handful of granola, it should stick together. If it doesn't stick together, mix a little more.) Then combine with the rest of the granola. The mixer binds the ingredients together tighter, which helps to create chunks. If you like your granola more granular like the texture of oats, don't use the mixer, just mix by hand.
- DIVIDE the mixed granola between the two sheet pans and spread into an even layer in both pans. Keep loose; don't pack together.
- BAKE at 275° F (135° C) for 30 minutes, then stir and rotate pans between shelves and front to back.
- STIR: take one pan at a time out of the oven, place it on the counter and stir gently with a large spoon. Because granola browns around the outside edges first, it's important to stir by pulling the granola to the center of the pan, then re-distributing, in order to get an even bake.
- TURN oven down to 250° F (120° C) and bake another 30 minutes. Again, take pans out of oven, one at a time, and stir; then scatter the pumpkin seeds over the granola, dividing roughly between the two pans. Adding the pumpkin seeds after 1 hour of baking insures that they will maintain their pretty green color. Baking pumpkin seeds too long will cause them to turn brown.
- CONTINUE baking another 15-20 minutes, until golden brown, crisp and crunchy. Total baking time = 1 hour and 15-20 minutes. Note: granola will not be crunchy when it is hot, so in order to test doneness, take a small amount out of the pan and place on counter to cool for a few minutes, then taste. If it is not crunchy enough when cool, bake a few more minutes, watching the color carefully. Over-baking and getting it too dark will cause it to taste bitter,
- COOL in the pans 8-10 minutes, then gently break into whatever size chunks you like. Finish cooling in the pans.
- TRANSFER cool granola to extra-large bowl. Scatter the dried fruit over the top of the granola and toss with your hands to combine.
- STORE in an air-tight container at room temperature for up to two months.
- FRESHEN GRANOLA. If for some reason your granola gets soggy and is not longer crisp, you can put it back in a 250° F (120° C) oven for 15-20 minutes, just long enough to get it good and hot. When it cools it should be crisp again.
Notes
Thanks for stopping by.
Enjoy! Shirl
Leave A Comment