


6.12.15
Creamy White Shortcake: A Basic Cake-Style Shortcake
This is an almost white cake, the idea borrowed from my Grandmother, as you will see my next post: Creamy White Strawberry Shortcake (6.15.15). The white comes from using mostly egg whites (there’s only one yolk in this cake). The creamy color goes beautifully with all kinds of berries, from blueberries to raspberries to blackberries, but it especially goes with strawberries. Local strawberries in season are the best. Later in the summer, when local peaches ripen, this cake will make a perfect Peaches & Cream Shortcake, or maybe a Pêche Melba Shortcake with peaches and raspberries. My idea was to create a very delicious and versatile cake, one that you will want to make over and over.
An easy cake to make, it requires only one 8” cake pan, 2 ½” – 3” deep. After baking and cooling, the cake gets sliced in half horizontally, the cake is situated on your prettiest cake stand or platter, then filled with luscious fruit and whipped cream.
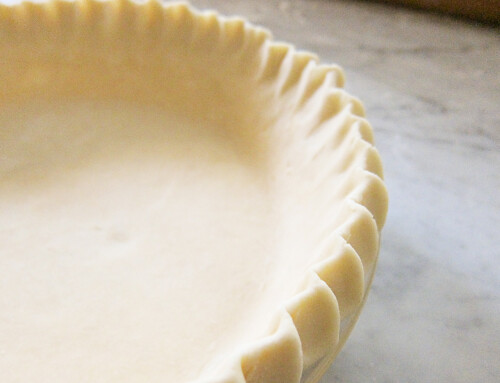
Since this is the kind of cake where the sides are left bare and not covered with any kind of frosting, it is important that the sides are smooth and come out of the pan without sticking. See my tips below for how to prep the pan to get those smooth sides, and how to cut the cake into two neat layers.
TIP #1: How to Prep the Cake Pan for Smooth Sides
1. Spray the pan (8″ diameter x 2 1/2″ deep) with a non-stick spray such as Pam.
2. Cut a parchment round and fit into the bottom of the pan.
3. Brush or rub the parchment and the insides of the pan with soft butter.
4. Spoon some sugar into the pan and turn the pan until all sides are coated with the sugar. Pour out excess sugar.
5. This is a great treatment for a cake that will not be frosted, where you want the sides to be nice and smooth since they will show. This not only ensures that the cake will come out of the pan cleanly, but the slight crunch that you get from the butter and sugar is very tasty.
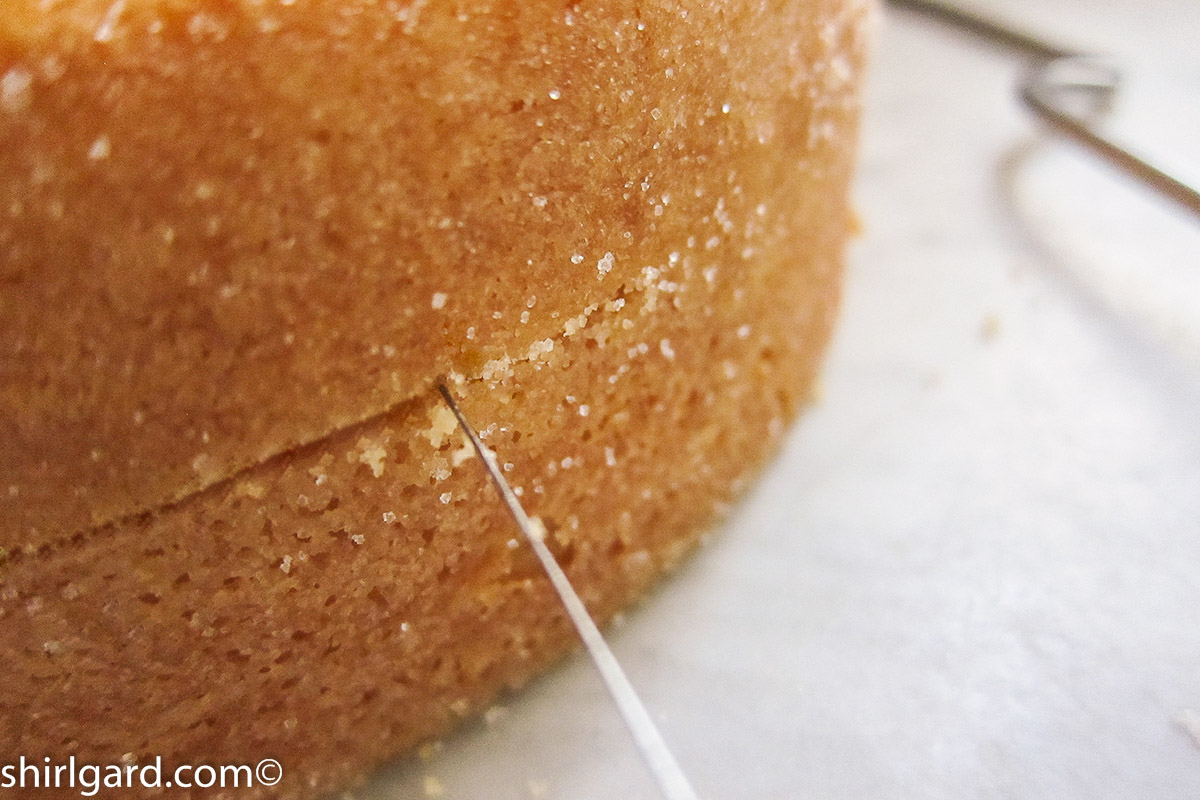
Tip #2: How to Cut the Shortcake into Two Layers
1. The best way that I’ve found to split cakes into layers is to use a very inexpensive tool (about $5.00) called a Wilton Cake Level. A cake level is a simple contraption fitted with a wire to cut through the cake. I’ve used one of these for years, at home as well as professionally; it is a very handy tool.
2. When you remove your cake from the pan, leave the parchment paper on the bottom of the cake, and place the cake on a flat surface. The parchment will make it easier to turn the cake while cutting it.
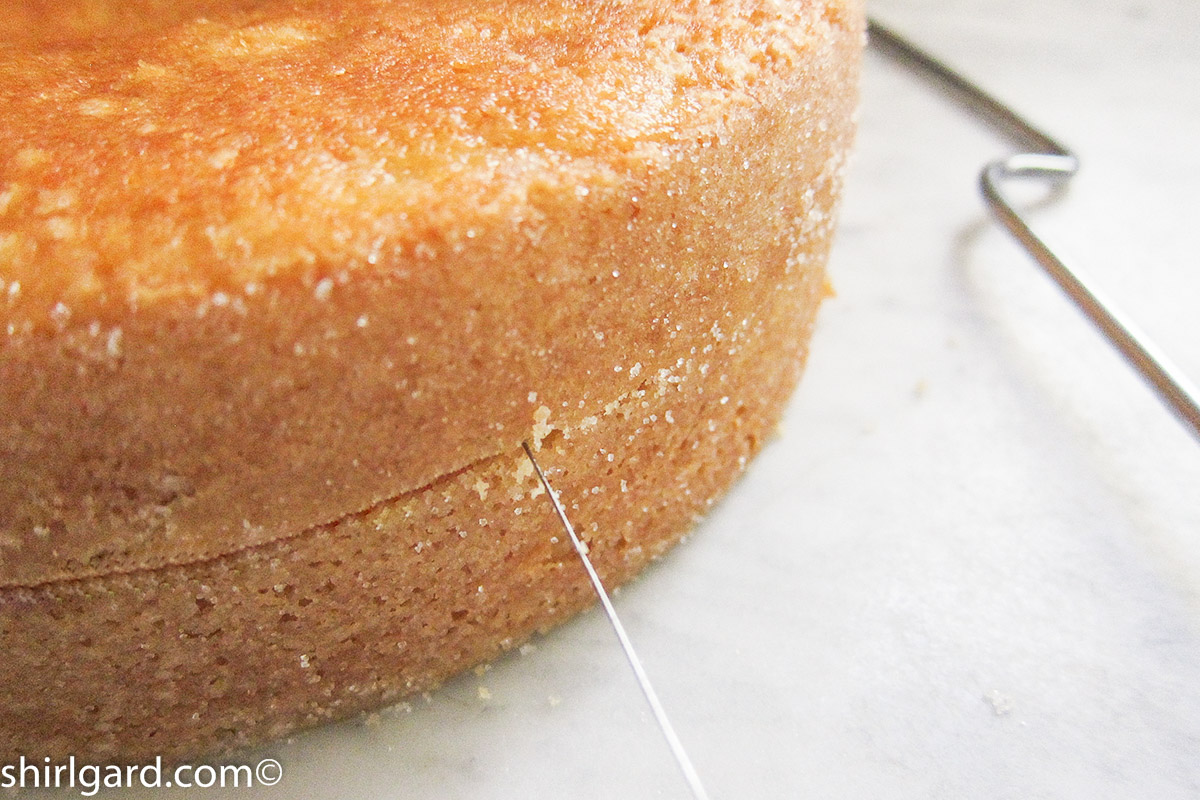
3. Use a ruler to set the wire to the desired thickness of the cake layer. Example: For this shortcake, the height of my cake was 2 1/4″, so I adjusted the wire to 1 1/8″ so that I would have two layers of equal thickness. For this shortcake, the dome of the cake is left intact and not cut off as it would be if you were frosting the cake.
4. With one hand, hold the cake level and use a sawing motion to cut through the cake. With the other hand, place your index finger against the wire as it move through the cake. This will prevent tearing the cake.
5. When the cake is separated into two layers, use a cake board to lift off the top layer and set aside.
6. Remove the parchment paper from the bottom layer an place on the platter or cake stand that you plan to serve it on. (Please don’t forget to remove the parchment paper! I’ve made this mistake and it’s not pretty, especially if the parchment is in the middle of the cake. Ugh!)
STEP-BY-STEP: MIXING & BAKING CREAMY WHITE SHORTCAKE
-
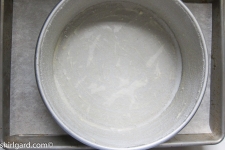
- Pan Prepped for Creamy White Shortcake

-

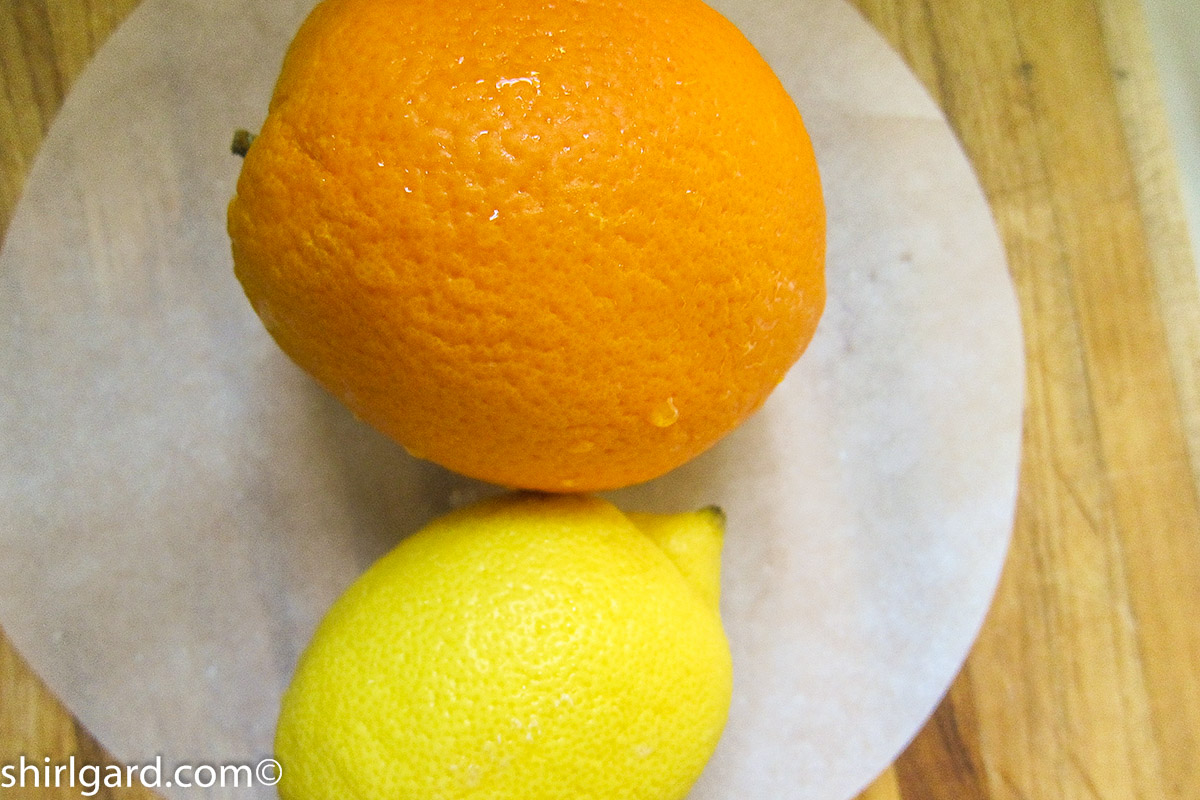
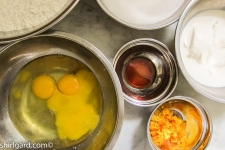
- Flavorings: Orange & Lemon Zest + Vanilla Extract
-

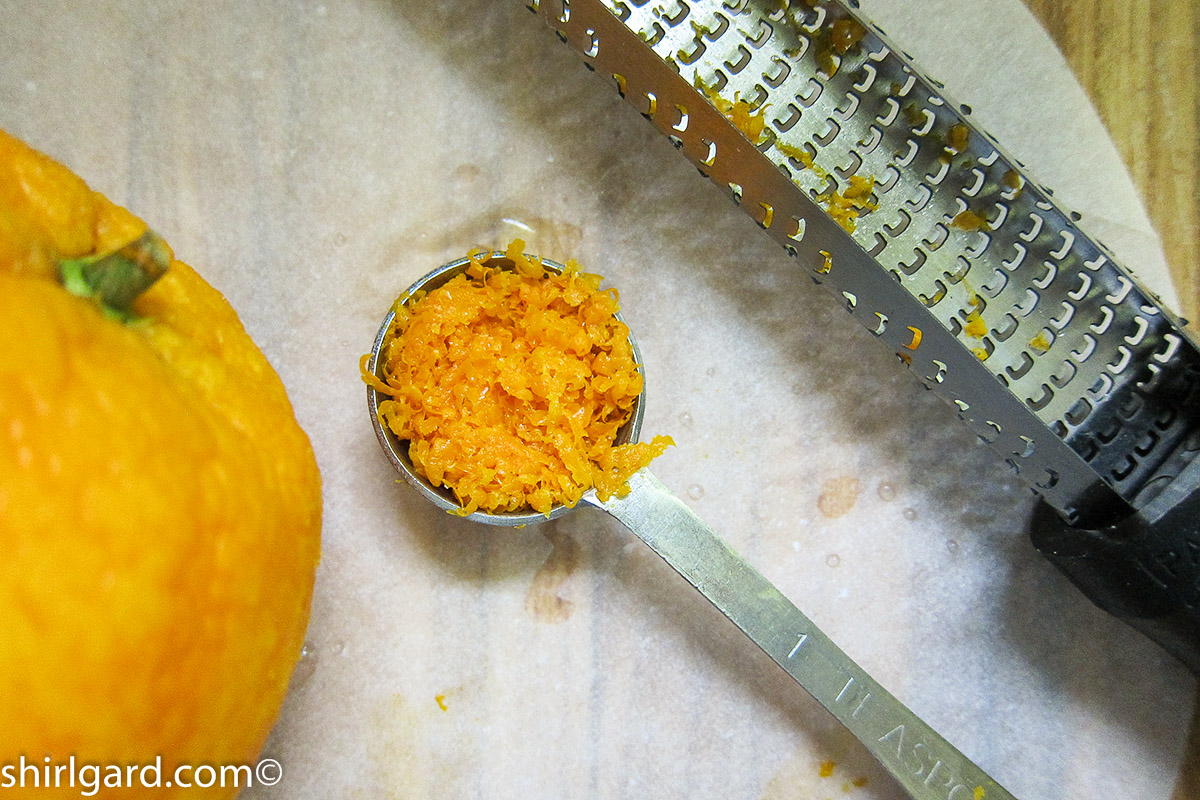
- Grating Orange Zest with a Rasp
-
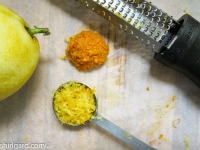
- Citrus Fruit Zested with a Rasp

-

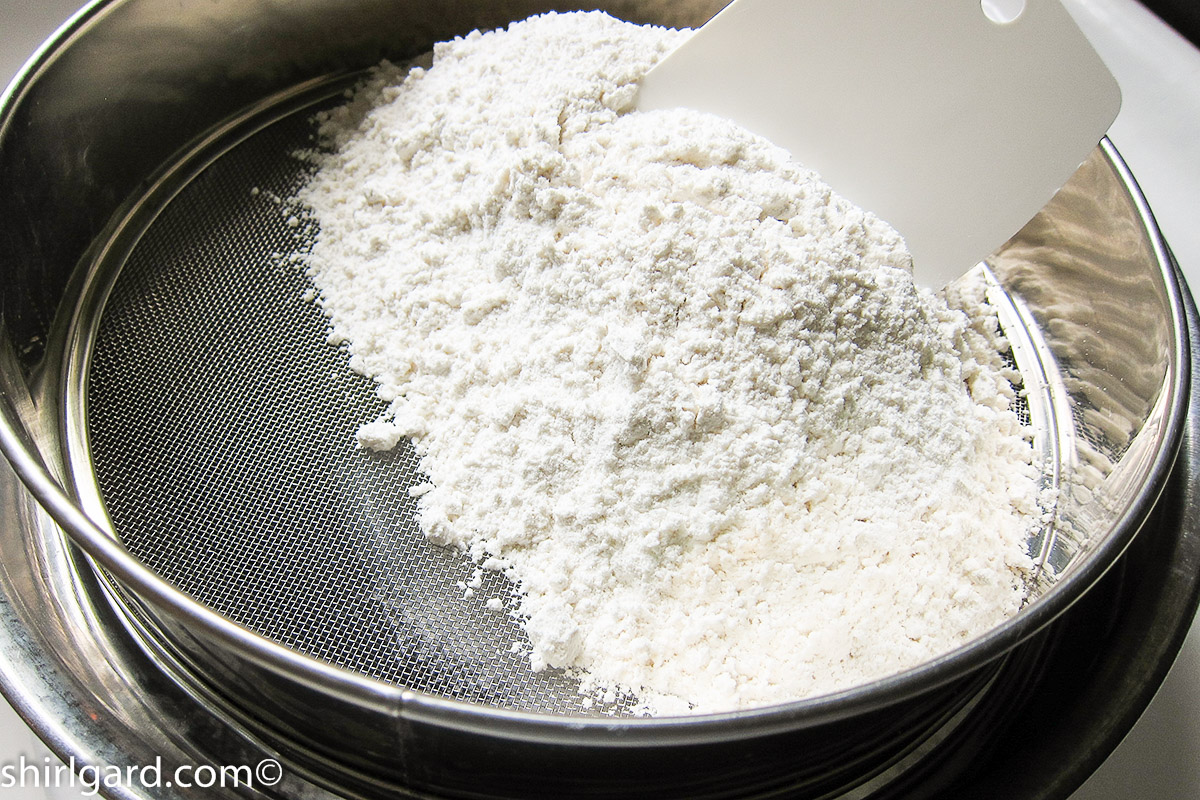
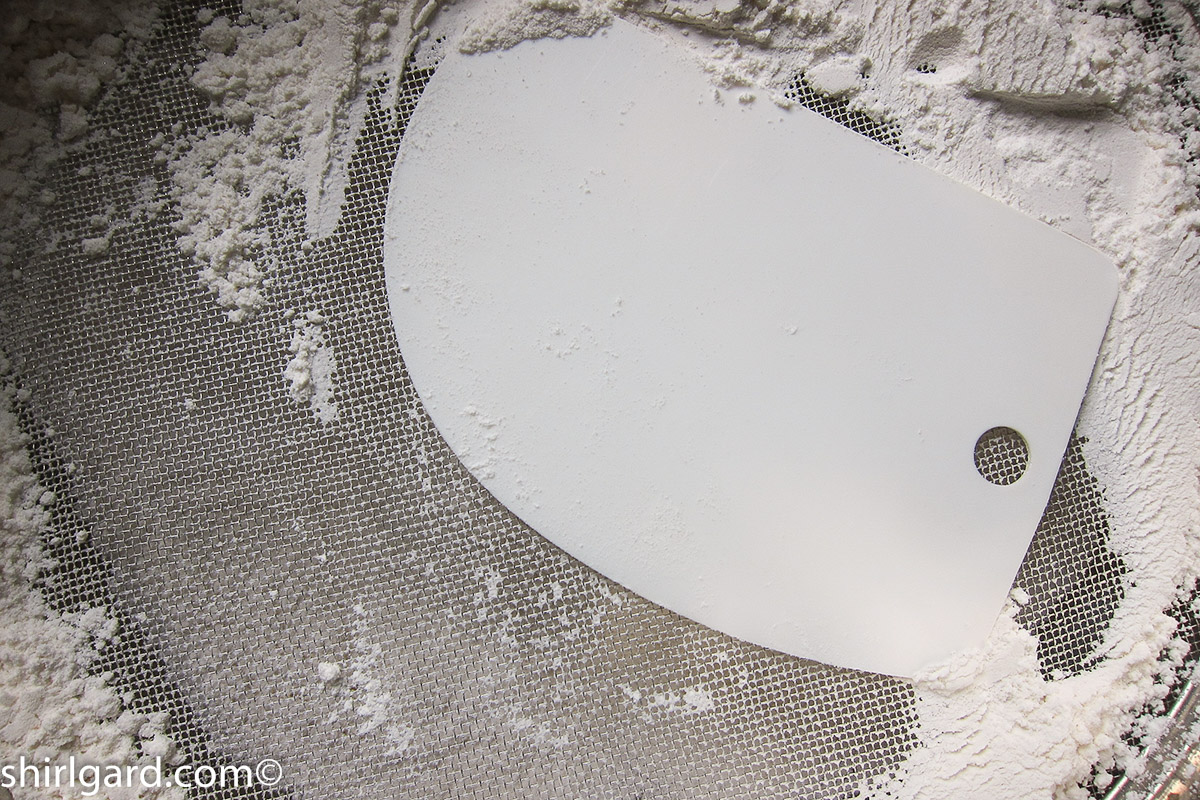
- A Tamis is my Preferred Way of Sifting flour
-
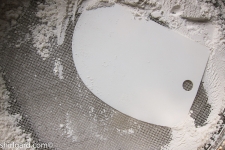
- Push Flour Through Tamis Using a Bowl Scraper
-
- Mise en Place: Creamy White Shortcake

-
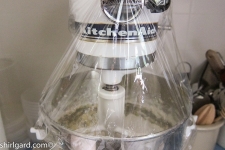
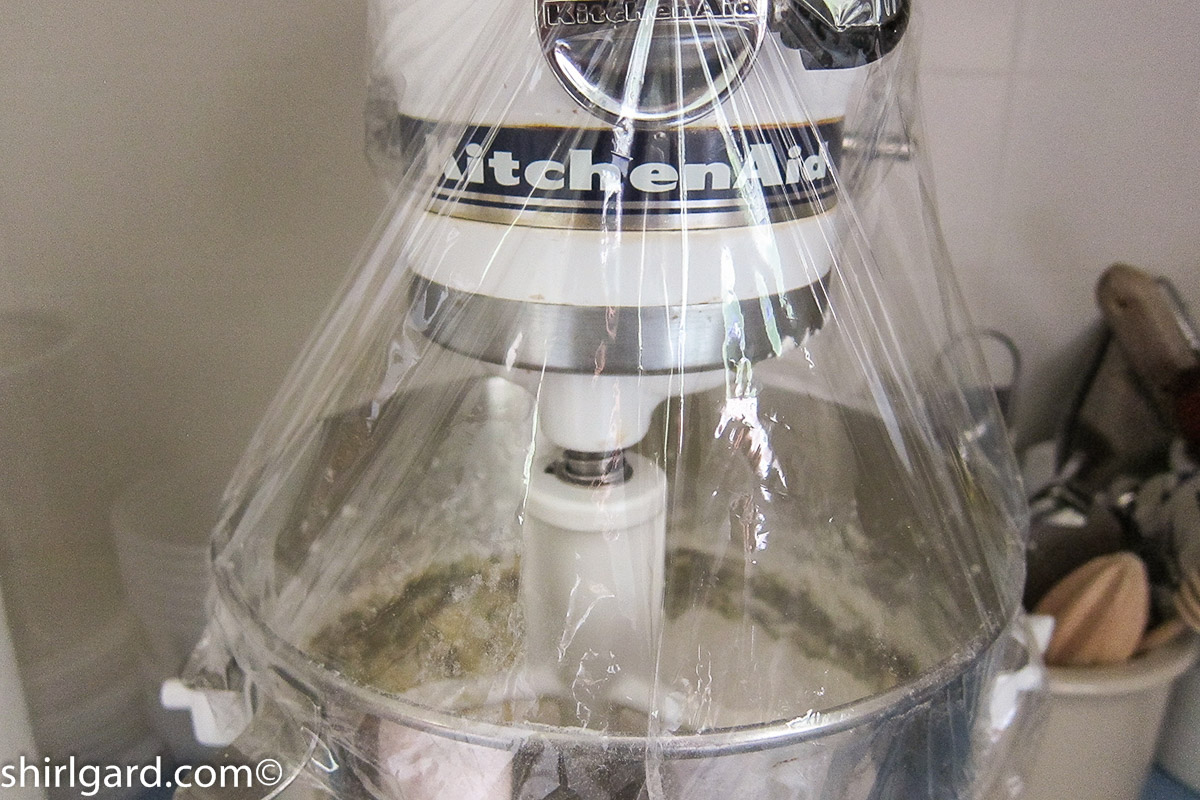
- Plastic Cover on Mixer Keeps the Flour From Flying
-
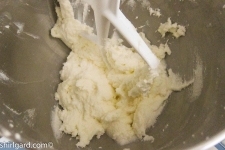
- Creamed Butter & Sugar for Creamy White Shortcake

-
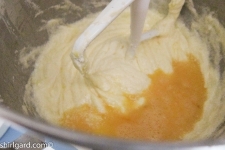
- The Shortcake Batter Looks Curdled Until Flour is Added

-
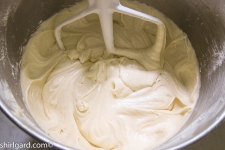
- Finished Batter Looks Very “Creamy”
-

- Recipe Yields 2# (900g) Batter

-
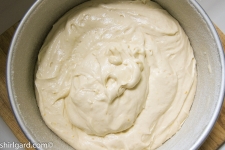
- Creamy White Shortcake Batter in Prepped Deep 8″ Pan
-
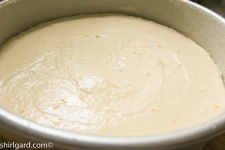
- Smoothed Shortcake Batter Ready to Bake

-
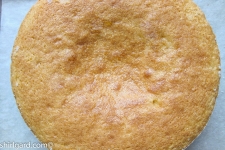
- Top of Creamy White Shortcake Just out of the Oven

-
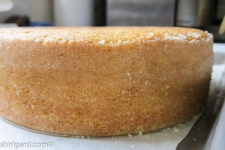
- Smooth Sides of Baked Creamy White Shortcake

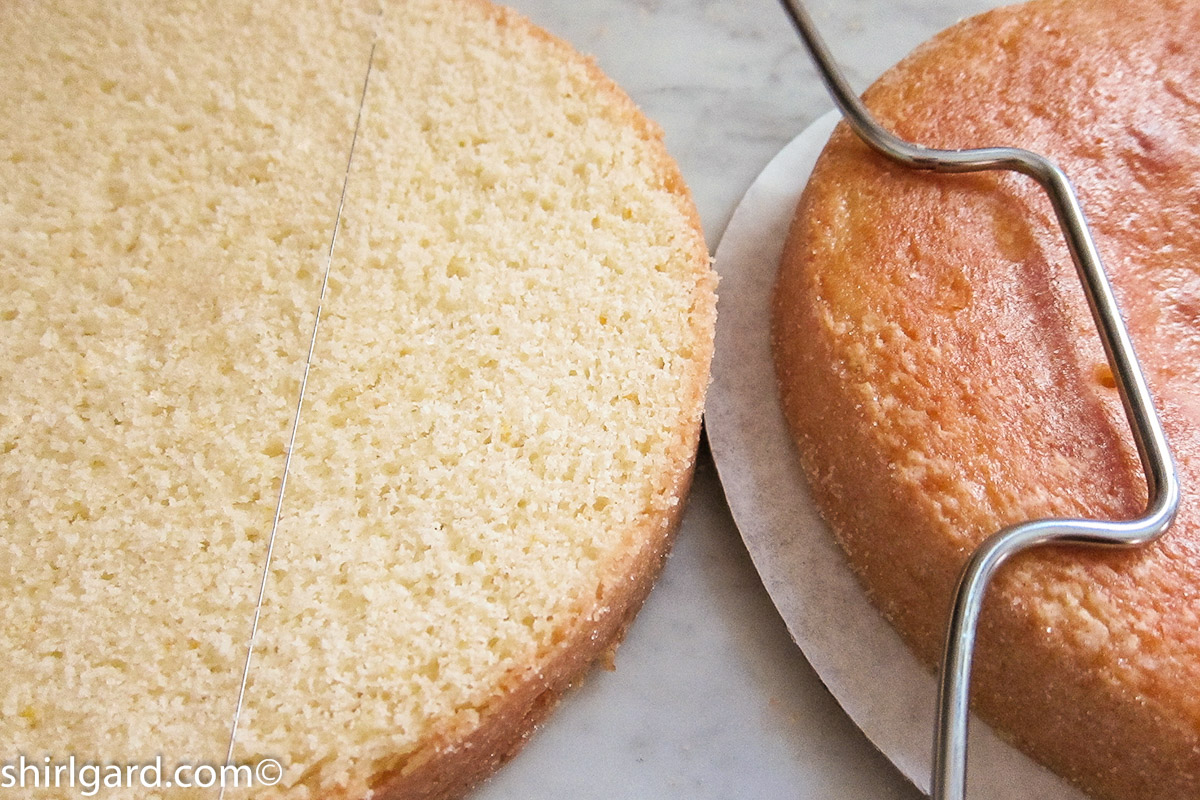
HERE’S HOW TO CUT THE CAKE INTO TWO LAYERS:
-
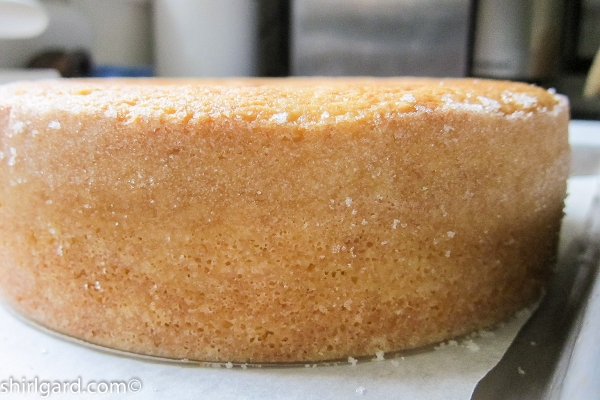
- Baked Shortcake Ready for Splitting & Filling
-

- Separating the Shortcake into two Layers Using a Wilton Cake Level
-

- Lift off Top Layer with a Cake Board
-
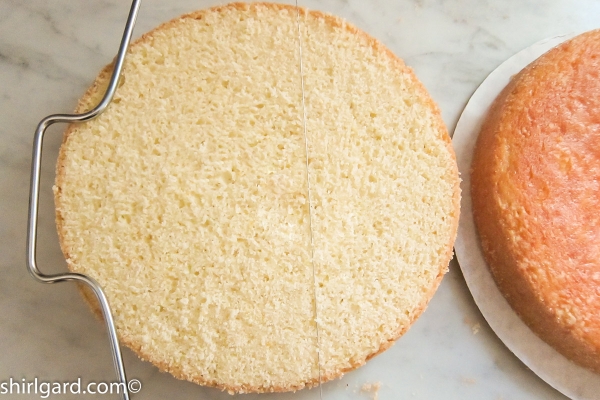
- Two Layers of Cake about 1 1/8-inch Thick
Make this your cake and fill it with the fruit or berries of your choice. It will be yummy! It is a cake of the moment though; it is best served the same day it is made.
See my next post on how to turn this cake into Creamy White Strawberry Shortcake.
Creamy White Shortcake
YIELD: ONE 8" x 2 1/2" CAKE PAN SCALED @ 900g (2#)
Ingredients
- ALL INGREDIENTS AT ROOM TEMPERATURE:
- 130 grams unsalted butter 1 stick + 1 T
- 300 grams granulated sugar 1 1/2 cups
- 50 grams whole egg 1 large, lightly beaten with egg whites
- 120 grams egg whites 4 large
- 90 grams sour cream 1/4 cup + 2 T
- 45 grams whole milk 3 T
- 1 teaspoon grated lemon zest
- 1 teaspoon grated orange zest
- 1 teaspoon vanilla extract
- 225 grams Gold Medal bleached all-purpose flour 1 3/4 cups
- 30 grams cornstarch 3 T
- 3/4 teaspoon fine sea salt
- 1 1/4 teaspoons baking powder
- 1/4 teaspoon baking soda
- 990 grams = Total 2# 3 oz
Instructions
- PREP PAN: Spray with Pam. Line the bottom of an 8" diameter x 2 1/2" deep round cake pan with a parchment round. Brush parchment and insides of the pan with soft butter and dust with sugar.
- PRE-HEAT OVEN: To 325°F (163°C).
- MIX: In Kitchen Aid mixer using the paddle, cream butter on medium speed until smooth and creamy, about 1 minute. Gradually add sugar, then scrape down the bowl. Turn to high speed and beat until light and fluffy, about 5 minutes.
- On medium speed, add the eggs a little at a time until incorporated, then the sour cream, milk, zests, and vanilla, scraping down the bowl as needed. Mix well. The mixture may look a little curdled at this point, especially if the dairy ingredients are not at room temperature. The batter will smooth out when the flour mixture is added.
- Sift together the flour, cornstarch, salt, baking powder, and baking soda.
- On low speed, slowly add the flour mixture to the mixer bowl and mix just until smooth, about 30 seconds. Scrape up the bottom of the bowl and mix in.
- Transfer the batter to the prepared cake pan and place on a quarter or half sheet pan
- BAKE: At 325º F (163°C) for about 55 minutes, or until golden brown and the sides of the cake start to pull away from the pan. Do not test with a cake tester or wooden skewer until the cake is almost done. Doing so too soon will cause the cake to deflate in the center. Wait to do this doneness test until the center of the cake looks completely puffed
- Cool in pan about 10 minutes. Unmold while still warm, and place on parchment lined sheet pan to finish cooling.
- FOR SHORTCAKE TO BE SPLIT AND FILLED: The cake will be more stable if chilled in the refrigerator until cold. When cold, split the cake horizontally, using a cake leveler or a serrated knife. Then fill with cold fruit or berries and cold whipped cream. Shortcake filled with fresh fruit and whipped cream is best served the same day.
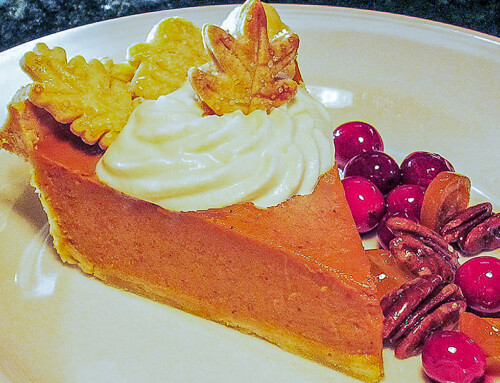
- IF DESIRED, LEAVE THE CAKE WHOLE AND CUT IN WEDGES: Serve with any fresh summer fruit or berries, especially strawberries, and dollops of whipped cream.
- IF MAKING AHEAD: Place in a large plastic bag and freeze until needed. This cake freezes well.
Notes
Thanks for stopping by. See my next post on how to turn this cake into delicious Creamy White Strawberry Shortcake.
Enjoy!
Shirl
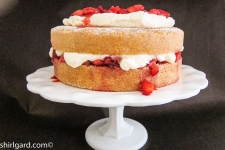
Creamy White Strawberry Shortcake on Cake Stand